I’m always finding sand and crumbs at the bottom of my bags and it drives me nuts. We’ve got a fun project for making a net produce bag that holds all your stuff, minus the crumbs.
HERE’S HOW…
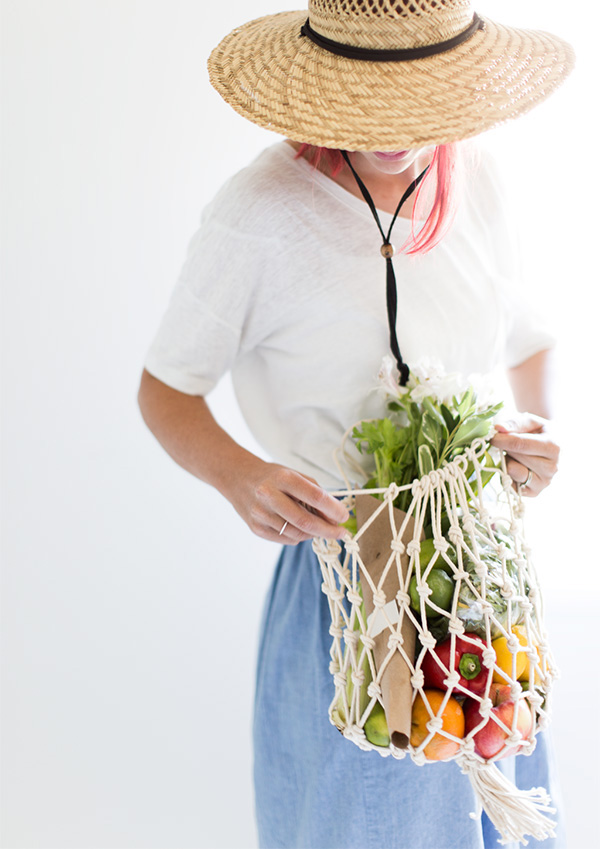
I USE THESE NET PRODUCE BAGS ALL THE TIME
Great for a trip to the park, beach, or the weekend farmer’s market.
They hold everything you need, but let all the crumbs and sand fall out. Especially great for beach and park trips.
The great news is that you only need TWO THINGS to make it. That’s IT!
HERE’S HOW TO DO IT:
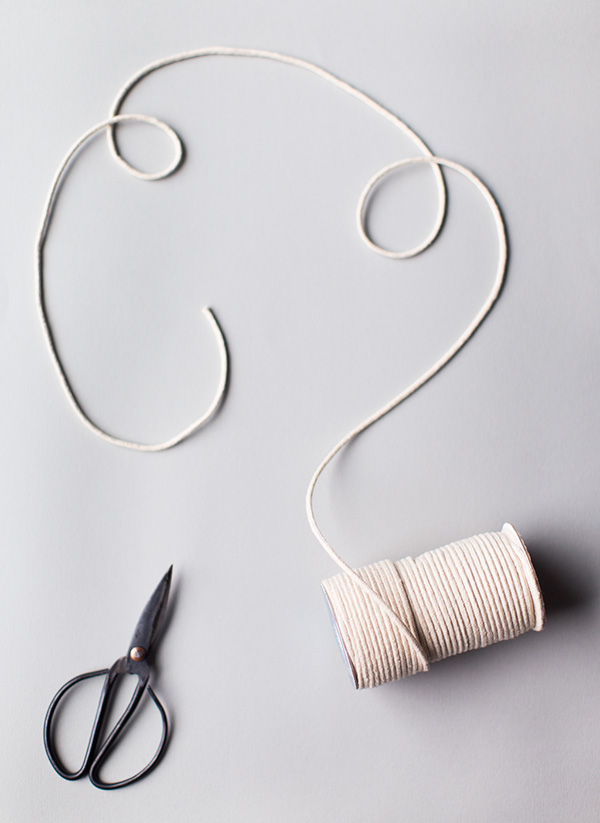
Supplies:
- natural macrame cord
- scissors (that’s it!)
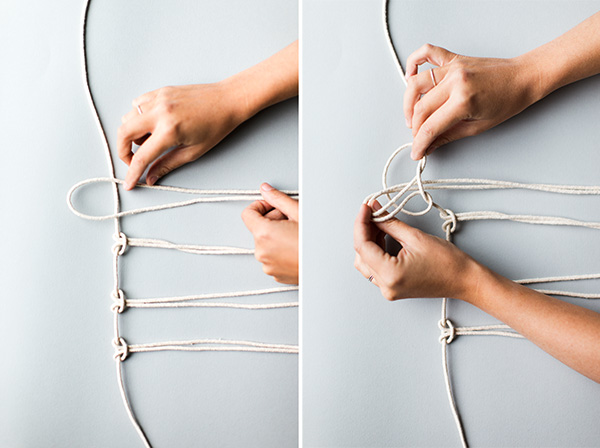
STEP 1: Cut 18 strands of cord 96 inches long each.
You’ll also cut one main rope that all the others will be knotted to that’s about 80 inches long.
Fold the rope in half and knot it around the main line.
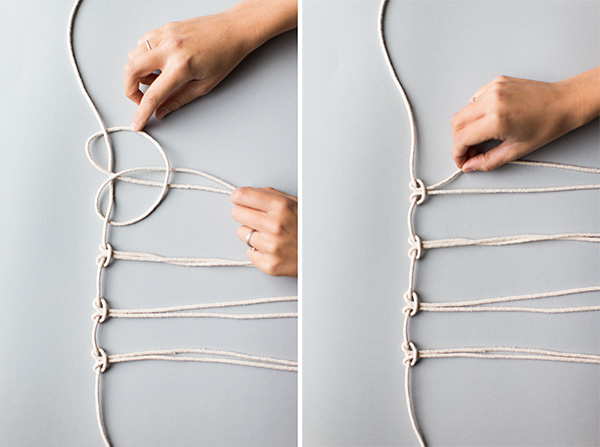
Pull it tight and continue down the line.
You want them to be pretty close together, less than an inch so the bag’s holes won’t be too big.
Continue down the main line for about 20 inches.
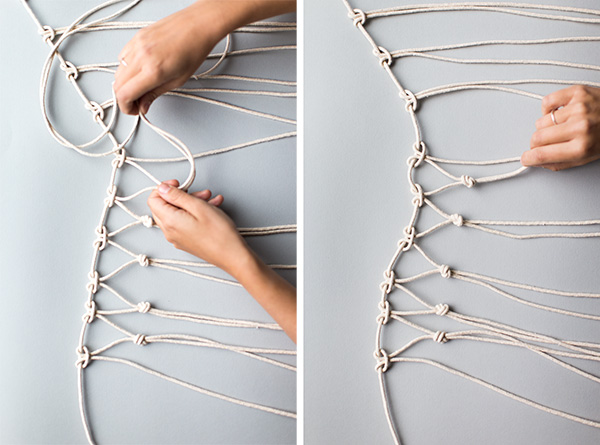
STEP 2: After you’ve gone all the way down the line, you’ll start gathering one piece from each knot to connect them into a second layer of knots, leaving the first string unattached.

STEP 3: Continue with another row, with the same knotting you did before.
You’ll make the knots all the way down the length of the bag.
We made about 8 rows of them.
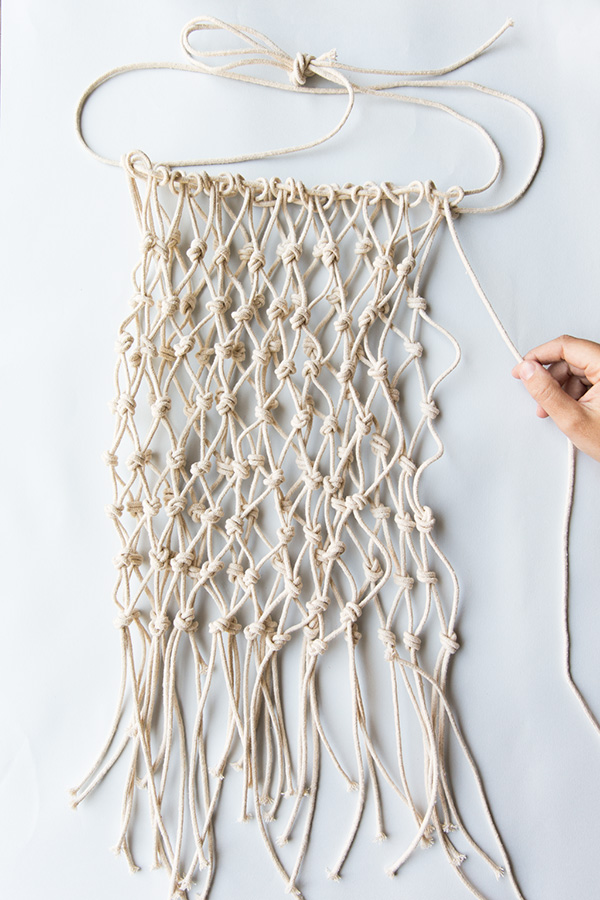
STEP 4: Fold it in half and grab the extra strand you left out in step 2.
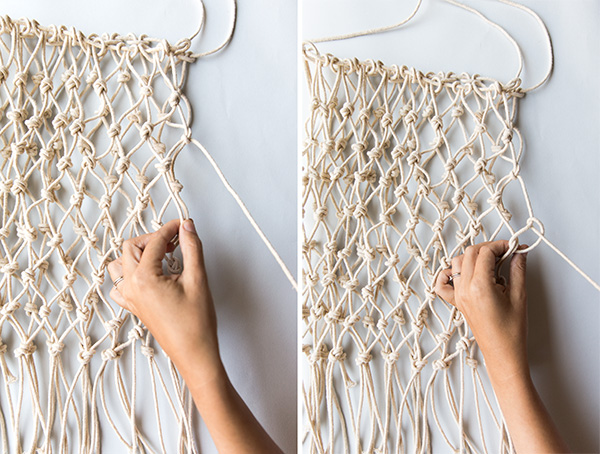
STEP 5: Now you’ll be weaving the unattached string through the two sides making knots between each loop to connect them together.

STEP 6: Take an extra piece of cord and tie a tight knot around the bottom in the front and back, trimming the bottom of the fringe as well.
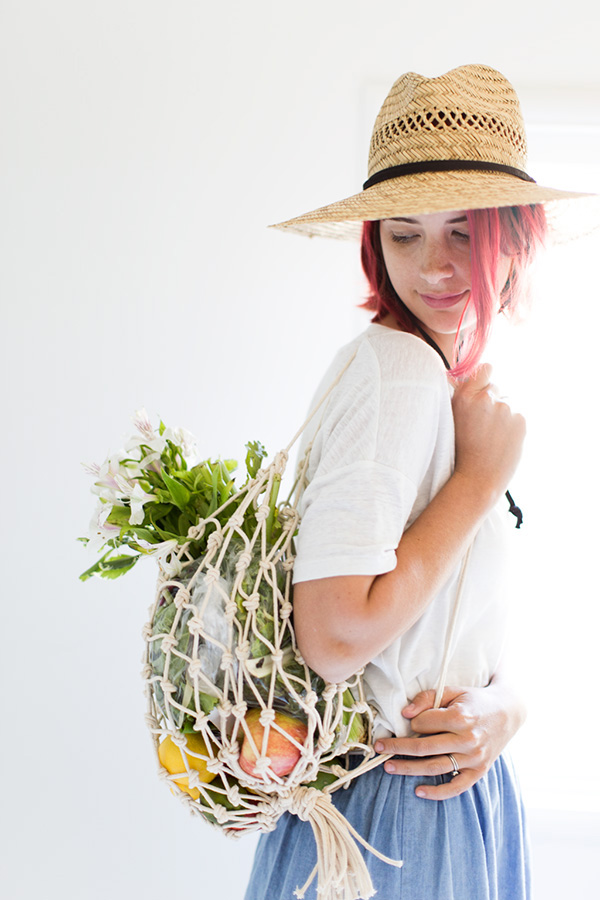
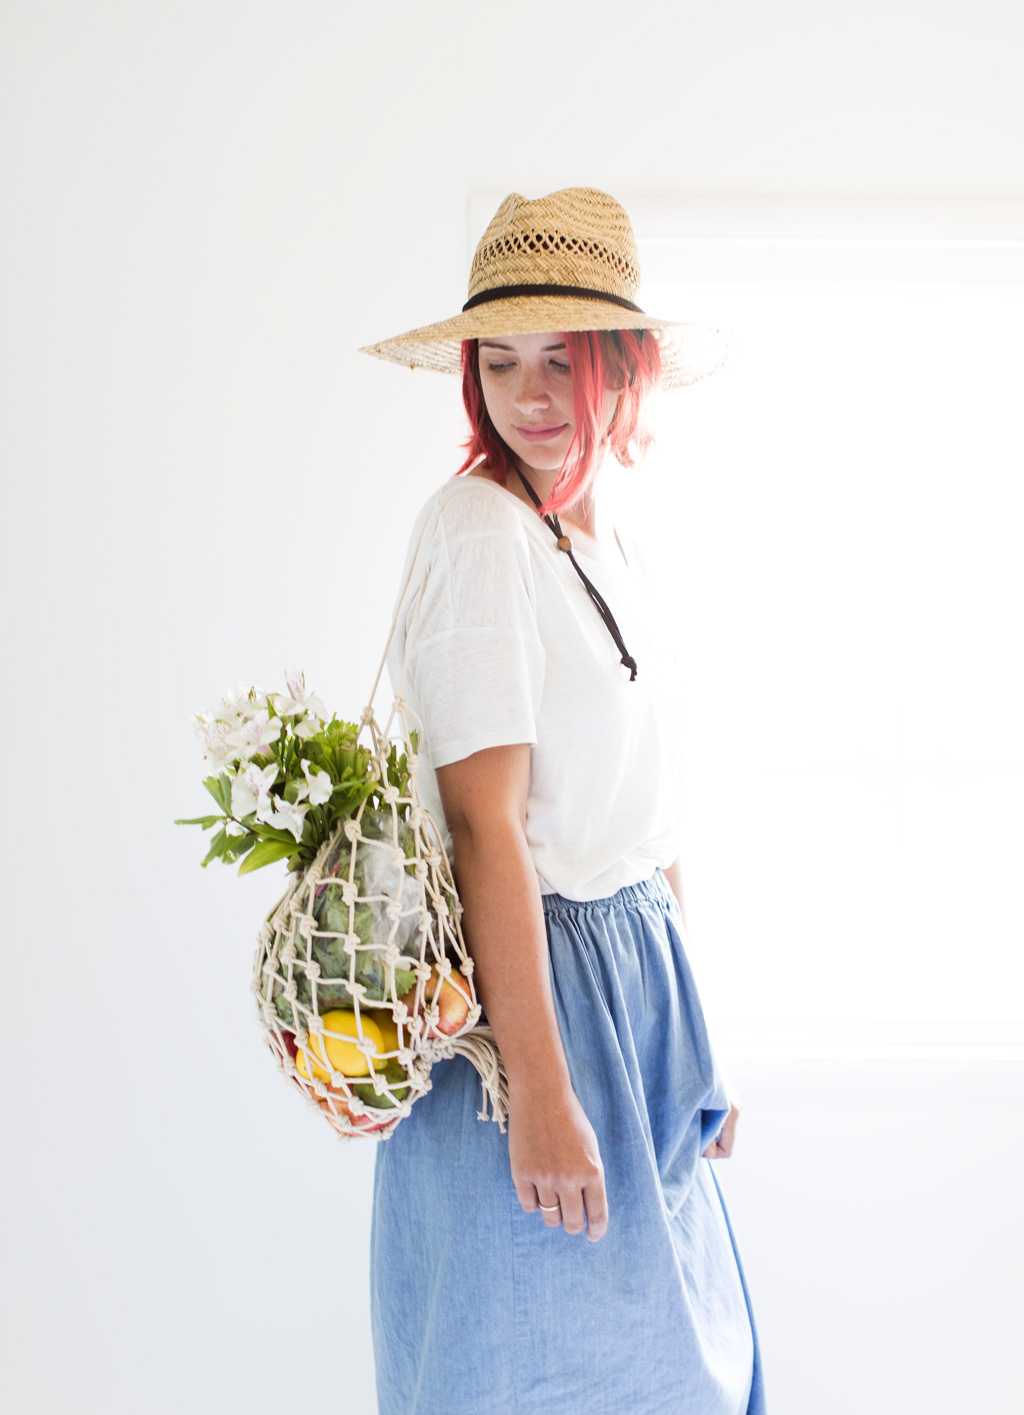
STEP 7: Take the extra cord from the main line and attach it with a knot to the bottom to make a shoulder strap or backpack.
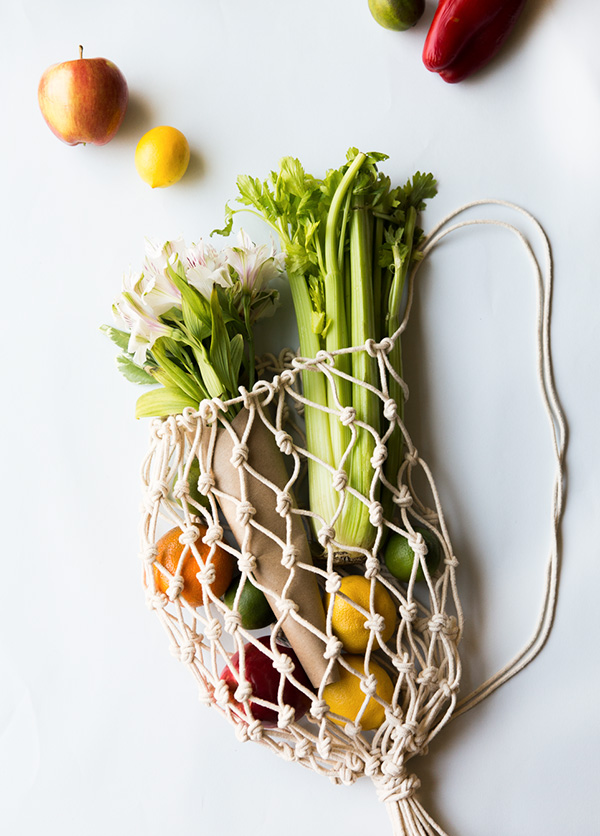
Fill with your farmer’s market goodies or snacks for a picnic at the park with the kids.
OTHER FUN CRAFTS TO TRY:
Supplies: natural macrame cord, scissors Step 1: Cut 18 strands of cord 96 inches long each. You’ll also cut one main rope that all the others will be knotted to that’s about 80 inches long. Fold the rope in half and knot it around the main line. Pull it tight and continue down the line. You want them to be pretty close together, less than an inch so the bag’s holes won’t be too big. Continue down the main line for about 20 inches. Step 2: After you’ve gone all the way down the line, you’ll start gathering one piece from each knot to connect them into a second layer of knots, leaving the first string unattached. Step 3: Continue with another row, with the same knotting you did before. You’ll make the knots all the way down the length of the bag. We made about 8 rows of them. Step 4: Fold it in half and grab the extra strand you left out in step 2. Step 5: Now you’ll be weaving the unattached string through the two sides making knots between each loop to connect them together. Step 6: Take an extra piece of cord and tie a tight knot around the bottom in the front and back, trimming the bottom of the fringe as well. Step 7: Take the extra cord from the main line and attach it with a knot to the bottom to make a shoulder strap or backpack. Fill with your farmer’s market goodies or snacks for a picnic at the park with the kids.Making a Net Produce Bag
This must be super painful on the shoulder with such a tiny cord as a strap and all that produce.
Also, you fail explain how to create the knots in step 2.
Hi! I was wondering if this would work as well with regular yarn or if it would be too weak? Thank you!
As you knot the strings, the outer strings get left behind, unless you knot them every second time the inner strings are knotted.
Is that right?
Wonderful! Thank you!! I have made a small one to put in a soap bar! So it can dry while it hangs in there!
Beautiful tutorial but missing how you actually tie the the knot. Could you kindly share how to make the actual knot? Thanks
https://darlingmagazine.org/10-female-leaders-share-biggest-fears-overcame/#comment-601243
this.
is.
GORGEOUS!!!!!!!
this is perfect!!!!
Totally! This bad is sooooooooo worth the time & effort! I LOVE it and recommend it to anyone!
This is such a cool idea, I can’t wait to give it a go!
This is super gorgeous, Liz!
This is the perfect bag for groceries – perfect way to look stylish even at the wet market!
Charmaine Ng | Architecture & Lifestyle Blog
http://charmainenyw.com