By DIY contributor Alyson of Sugar and Bash

I don’t think I can imagine Easter without making Easter eggs. In lieu of dyeing them this year, I knew I wanted to go the Mod Podge route. Unfortunately I couldn’t find a pattern I liked or a color that worked, but luckily I found that printing on tissue paper is easier than you’d think! This freedom allows you to use anything and everything, including making your own print!
Keep reading for instructions…
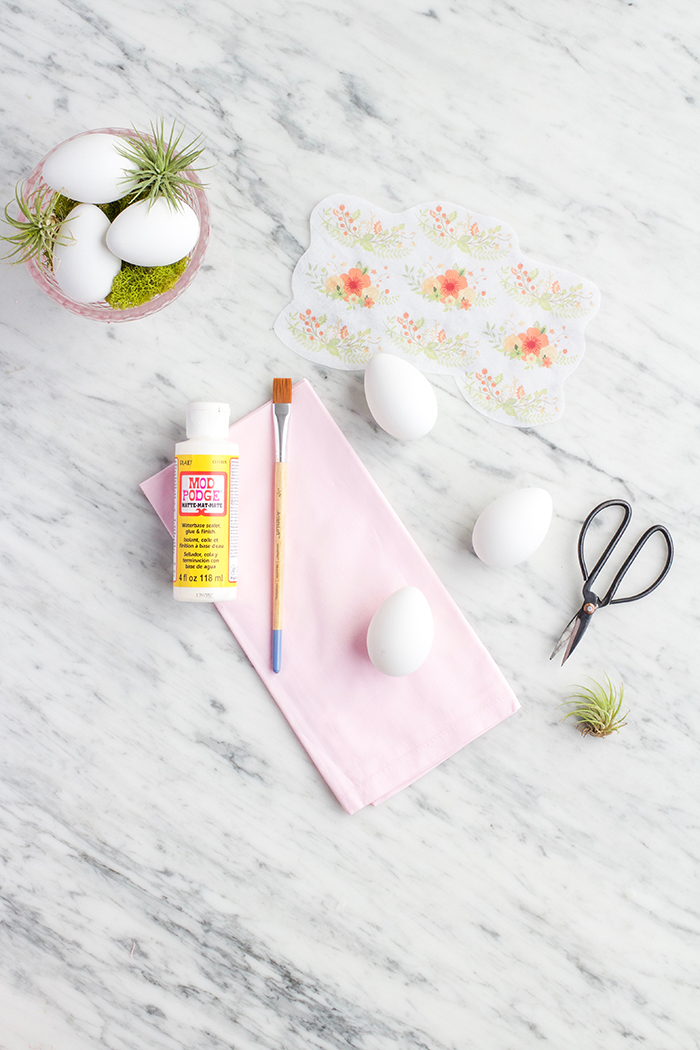
MATERIALS
White Tissue Paper
Floral Patten or Own Design
Card Stock
Tape
Mod Podge
Paintbrush
Craft Eggs or Real Ones
INSTRUCTIONS
1. Find a pattern or illustration you want to use for your eggs. I found mine on Creative Market but crating your own design would be fun.
2. Cut the tissue paper to fit on the card stock and tape the corners down. Print out the pattern on the tissue paper, making sure ink is fully dry before using it.
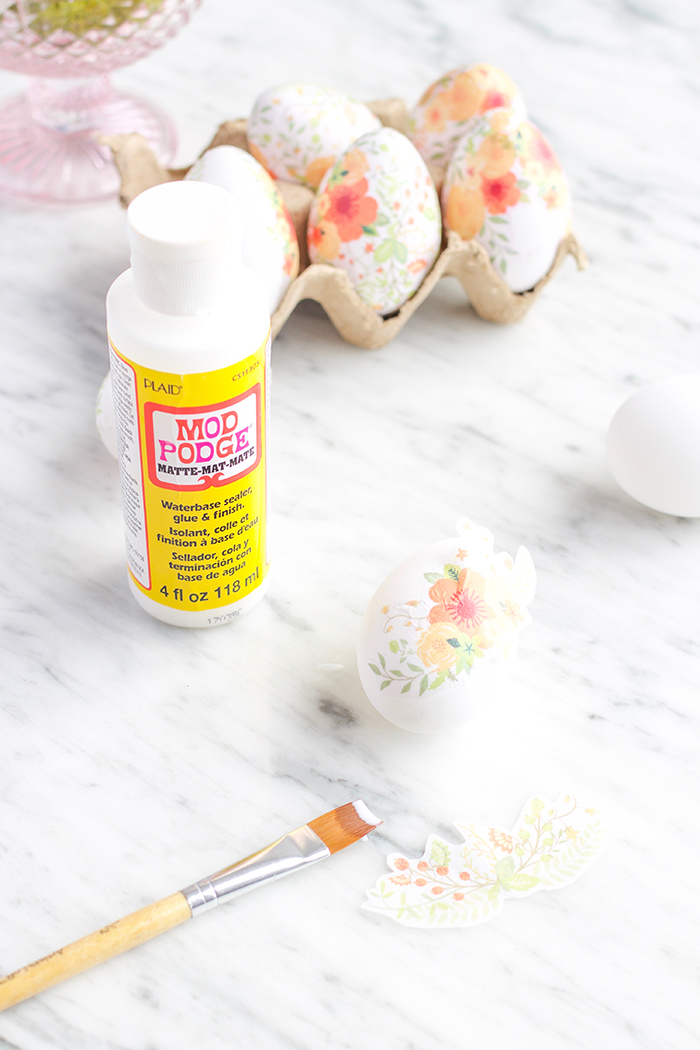
3. If you printed individual illustrations like I did, cut them out as close to the edge as possible. If you printed a pattern, cut down so it can wrap the egg.
4. Using your brush, apply a thin layer of Mod Podge directly on the egg and lightly press down the tissue paper design.
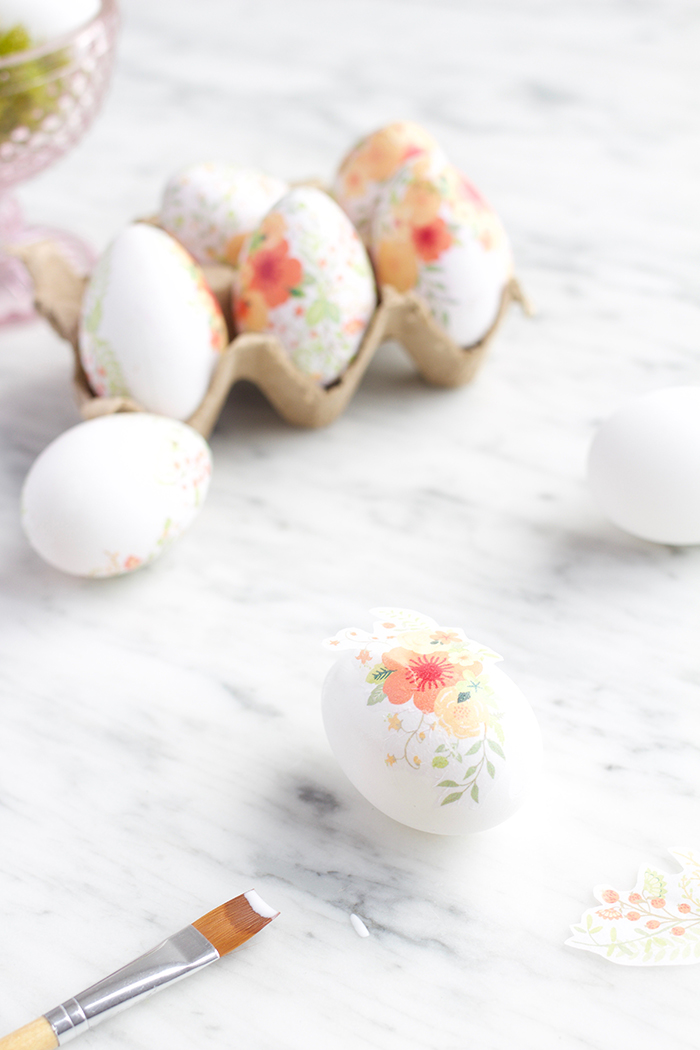
5. Very carefully apply another thin layer over the design, making sure not to press too hard so the paper doesn’t tear. Slowly paint outwards from the center of the design smoothing out as many wrinkles as possible.
6. Let the section dry, and repeat until the eggs is completely covered.
