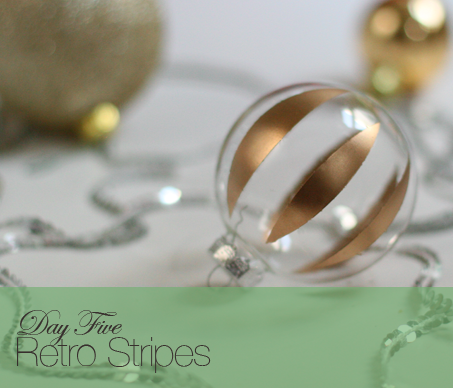
This is a holiday DIY series showcasing 10 different ways to decorate a glass ornament. I’ll be featuring one tutorial every day this week and then the real treat is I have five of my favorite crafty bloggers lined up to share their ideas each day next week.
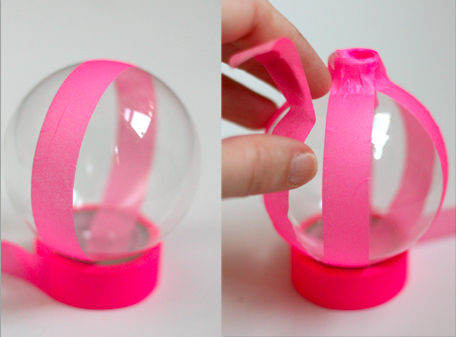
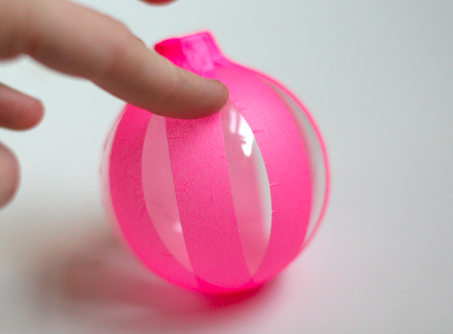
When you’re done it will look something like this. Pretty enough to hang on its own, don’t you think? Use your finger to press down the tape along each edge to remove as many folds and bubbles as you can.
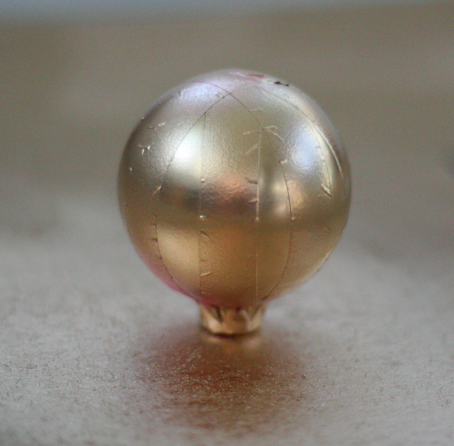
Spray an even layer of gold paint and then carefully peel off tape when paint has completely dried.
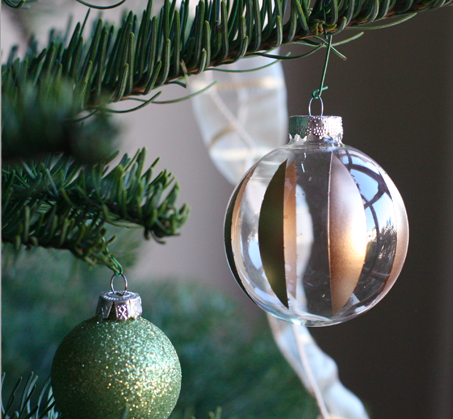
Now it’s ready to hang and enjoy!
In case you missed it:
Day One: A Christmas Scene
Day Two: Gold Dipped
Day Three: Glued and Painted
Day Four: Time Capsule
Meet me back here Monday with a whole new week of glass ornament DIYs by some of my favorite crafty bloggers!