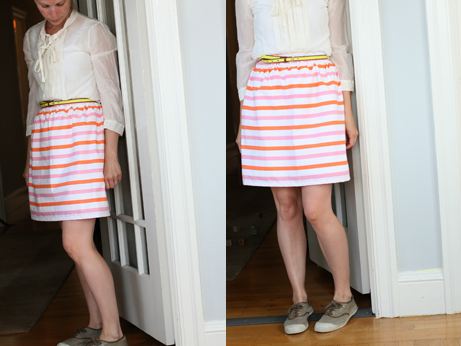
I tried a couple new things with this project: covering the elastic to make the skirt look a little more polished and adding a lining to avoid any see-through/clinging issues the fabric may have.

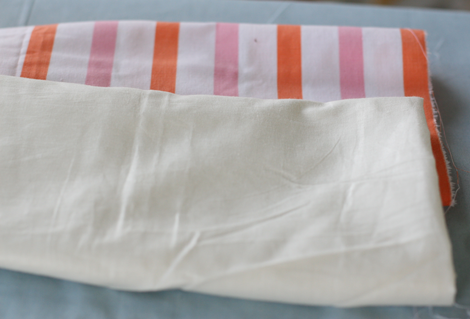
Start with an outer layer (I used a vintage striped sheet which, like a lot of vintage fabrics, definitely required a lining) and a layering fabric like this white muslin.
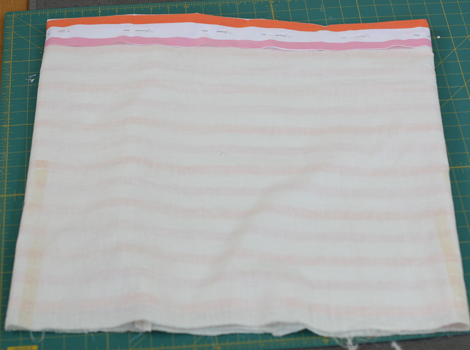
Cut a piece of the outer fabric 1.5- 2x the width of your waist and the length will be 4 inches longer than where you want it to fall. Right sides together, sew, press and trim the two sides of the skirt together.

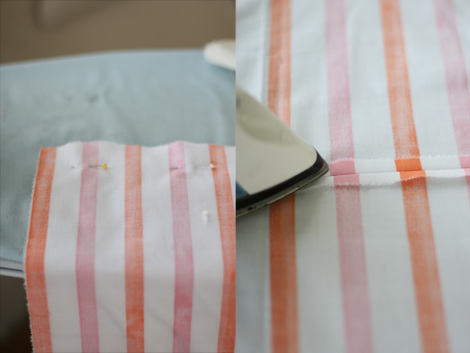
Fold and press the top hem at least 1/2 inch longer than the elastic you’re using. I was using 2 inch elastic so mine was about 2 1/2 inches. Pin.
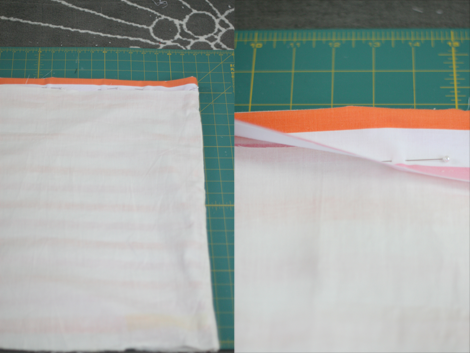
This is where we are adding our lining. Cut a piece of your lining so it falls about an inch higher than your outer piece (don’t worry, you can hem it higher later if you make it too long). Sew the sides together in the same way you did the outer piece. Place the outer piece inside the lining and tuck the top edges of the lining in to the top band, re-pin them together in place as shown below.
Now you’ll sew just along the edge, you want to leave plenty of room for the elastic to be strung inside
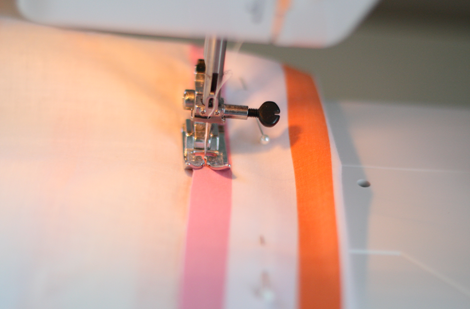
You’ll also leave about a 2 inch opening so you can string the elastic through afterwards
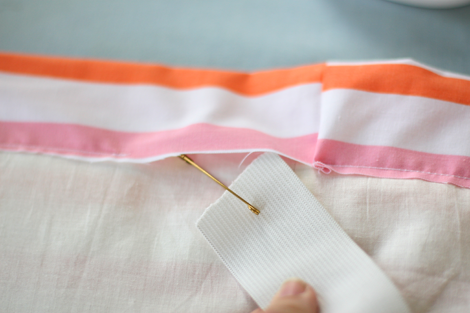
Attach a pin to the end of the elastic and string it through the inside of the band.

When it comes out the other side, pin it together and try it on before sewing the elastic ends together.
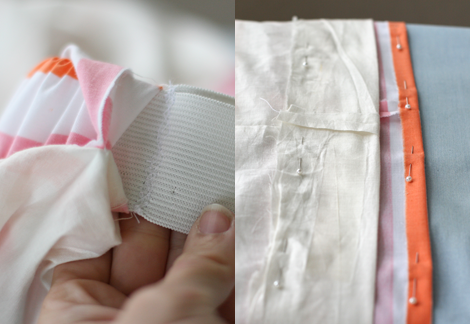
After you sew the elastic ends together, close up the hole and hem the bottom about 2 inches up as shown above

It looks nice with a belt too! If you’re looking for a more simple elastic waist skirt with the elastic exposed, check out this tutorial on FreshlyPicked.