
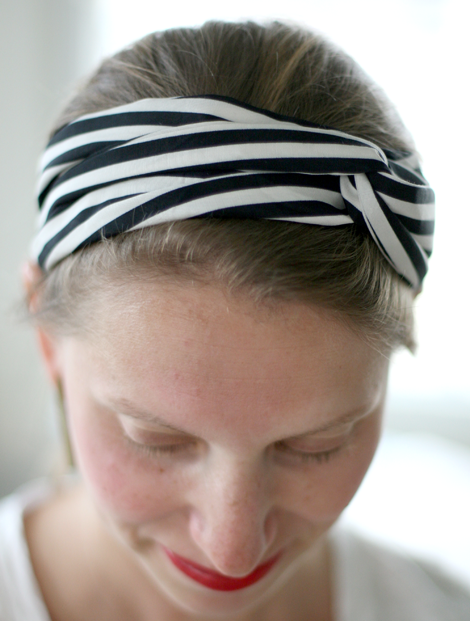
You won’t have to worry about twisting and tying a scarf each time, you lose the bulky knot in the back, and you can make it out of any fabric you’d like! I chose this silky stripey fabric I picked up at the thrift store.
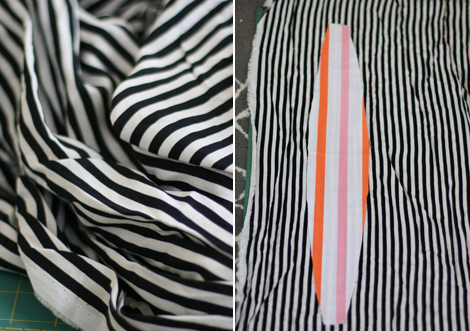
You’re going to cut four pieces of that approximate shape in the right picture above. Measure around your head where you’d wear the scarf like a headband and add about 1/2 inch for seam allowances. Err on the larger side, you can always adjust the fit with the snaps. My measurement was about 23 inches long, so it will probably be somewhere around that.

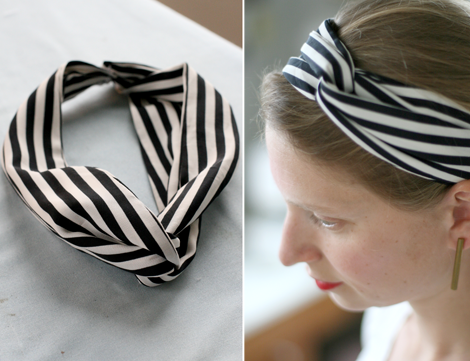
Take two pieces and sew them together, right sides together, leaving a small hole about an inch big to turn it inside out. Do the same with the remaining two pieces. When they’re pulled back to their right side and ironed flat they should look something like the right photo above. Carefully stitch up the holes used to turn them inside out.

Cross the pieces one over another, pin and sew each pair of ends together.
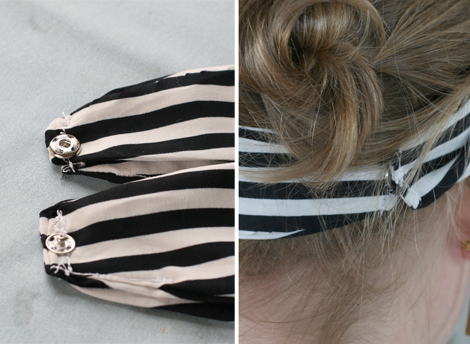
Sew one side of the snap to each end. And you’re done!
