
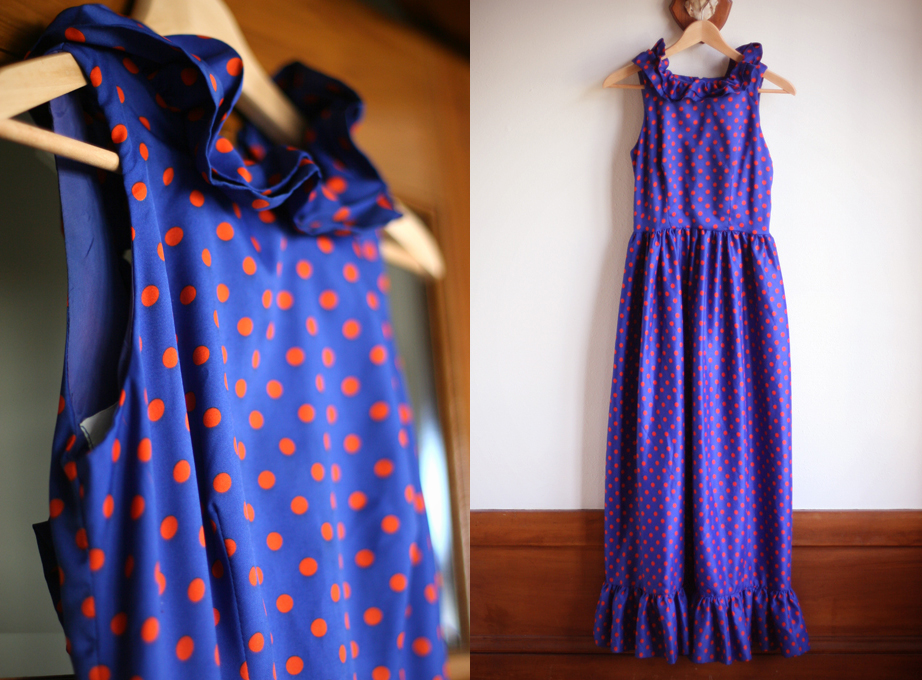
There were a few things I didn’t like about it. Three things, specifically that I didn’t like: the length, no sleeves, the huge plunging back (which I don’t have a picture of before). So, I made some alterations:


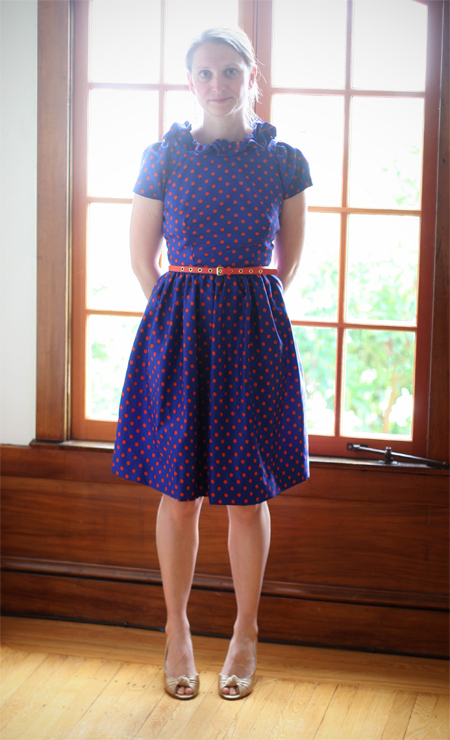
And now I’m kind of obsessed with it.
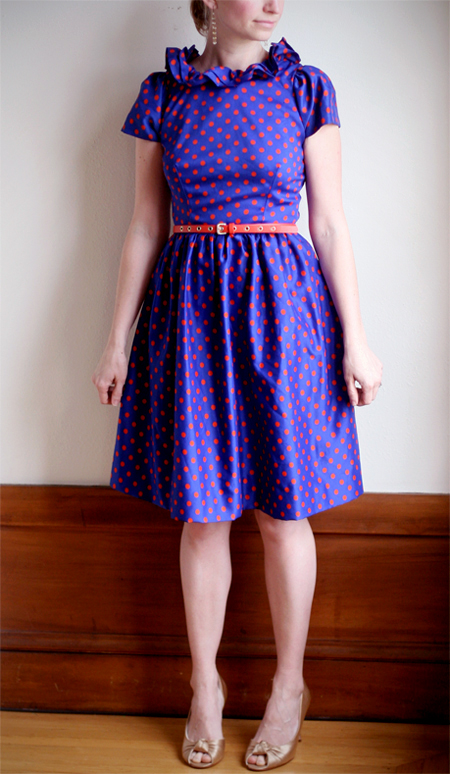
My friend Tracy who is an amazing seamstress and has a really good eye for this kind of thing graciously stopped over and gave me a few tips before getting starting. Although I think if she would have seen me actually making the alterations she would have been wincing in pain. I messed up on quite a few things but in the end it was a great learning experience and I love the result.
Here are a few more pictures of the process:
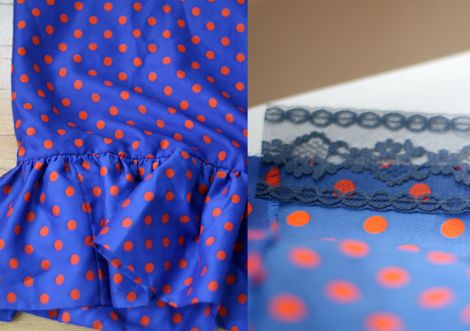
This is the bottom piece that I cut off and used for the sleeves and back panel. I added hem lace to the inside of the hem before doing the blind hem by hand.

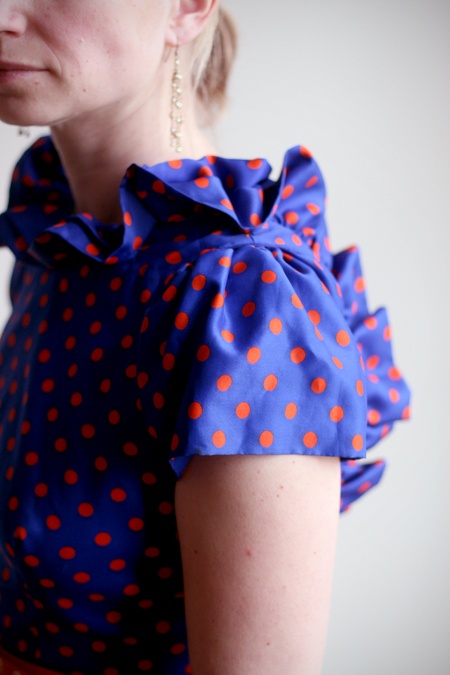
This is the ruffle piece from the bottom that I used to make the sleeves. I undid most of the gather except for the top part on the shoulder. The hand stitching to attach it was painful but other than that, it wasn’t too tricky. At one point I thought I was losing my sight, but as it turned out, I just needed a bowl of ice cream and tv break. Seems to cure most sewing-related ailments.


I stitched the back panel on the right side and added snaps inside the ruffle on the left so I could get in the dress. What’s the point of a pretty dress you can’t get in?
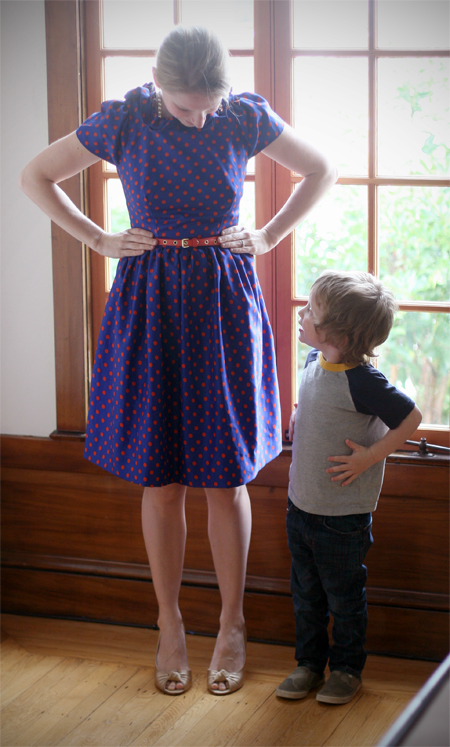
Henry wanted to show off his outfit too 🙂