
Today’s a special BlogNog day, we have three! Last up we have fabulous Dana from MADE sharing these adorable felt monogram ornaments. Welcome, Dana!
Hello friends! I’m Dana from MADE and I’m happy to be part of the Blognog party! With Christmas approaching (rather quickly) the words simple, handmade keep coming to mind. Because nothing says Happy Birthday, Merry Christmas, or “thanks for being you” like a handmade gift. Even that hard-to-shop-for or “she has everything” kind of person appreciates a piece of art that came from your hands. And with busy schedules, no one needs to be up till 2am sewing. So here’s a simple gift to make and give…..
A, B, C family ornaments.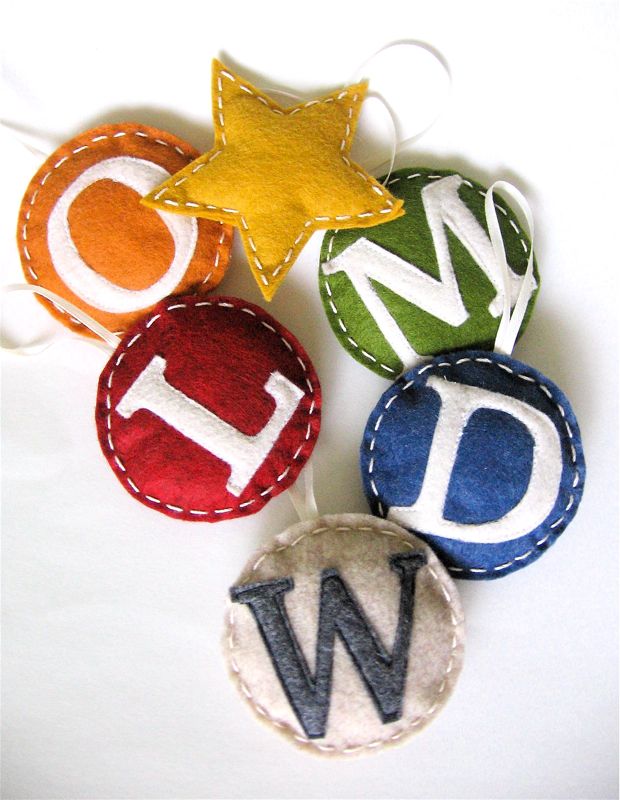 Creating a gift for an entire family is a tricky one. It’s hard to please everyone (and usually we end up pleasing the mom). But everyone seems to love ornaments. So for this family gift, there’s an ornament for each person with their initial on the front, a family letter ornament (“w” for our name “willard”), and a star to go on top.
 So pop in your favorite holiday movie and let’s start making.
First, choose some colorful felts. I prefer the blended wool felts that come on a bolt at the fabric shop because they are finer quality and come in more interesting color options. You only need 1/8 of a yard of each color.
Trace ornament shapes on to felt and cut out two pieces for each ornament (a front and back). You can draw your own shapes or print shapes from your computer. For the circle I traced a glass cup.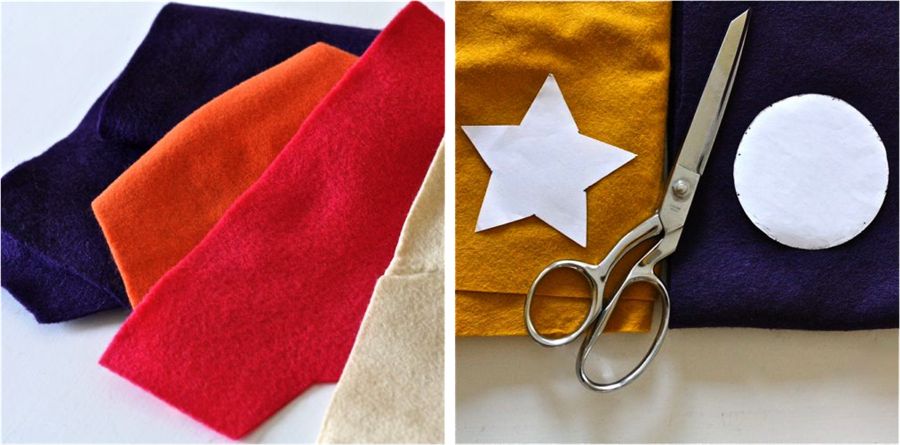 For this tutorial I’ll show the Letter ornament. Of course the options with felt are endless, so have fun with it! You can create all sorts of cute ornaments with interesting shapes and colorful thread.
Okay, the letters.
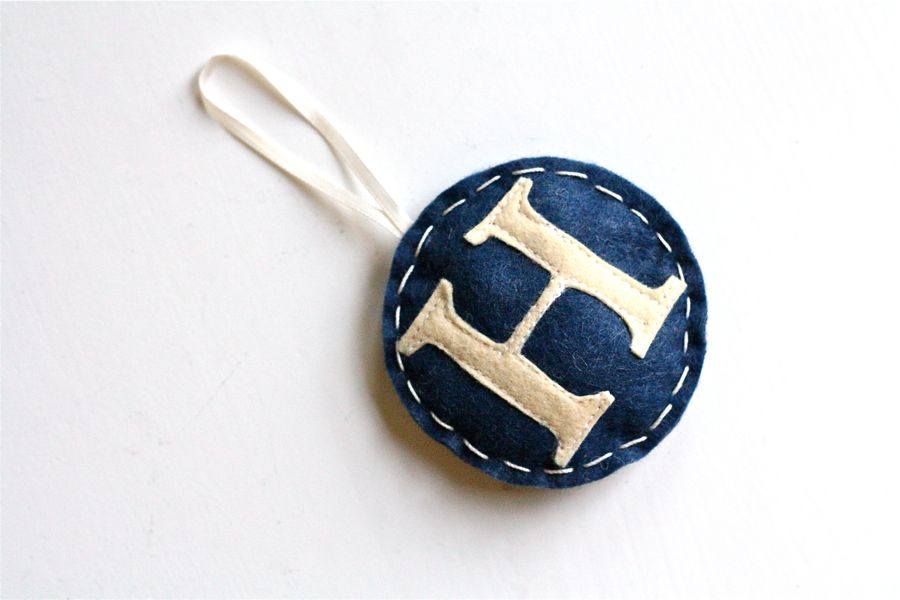
Decide which letters you need for the family and print them from your computer in a word doc, or by other method. If you have a letter stencil for that works great too. Cut the letters from paper, trace them onto cream colored felt, cut out the felt letters, and you’ve got the letter H (for Henry) all ready to go!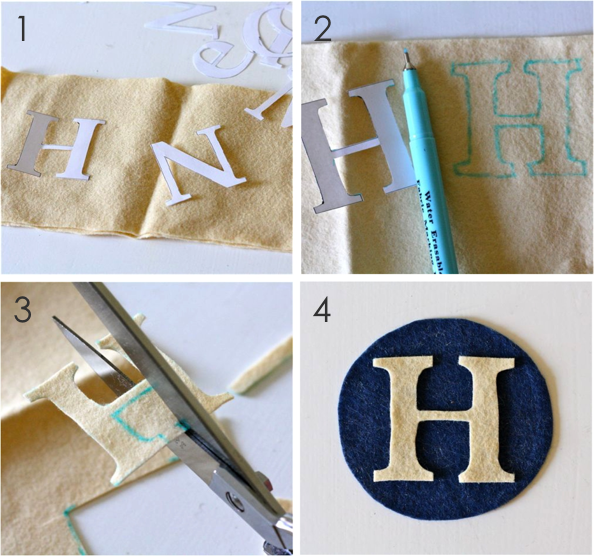 Using a sewing machine and matching thread, sew the Letter to the Front piece of the ornament. This can be done by hand as well. Next, sewn a hanging loop in place. I used skinny satin ribbon. You can use colorful twine (such as Divine Twine), rope, yarn, whatever catches your crafty eye. So, oton the Back piece of the ornament, sew down the loop. You can also use a glue gun.
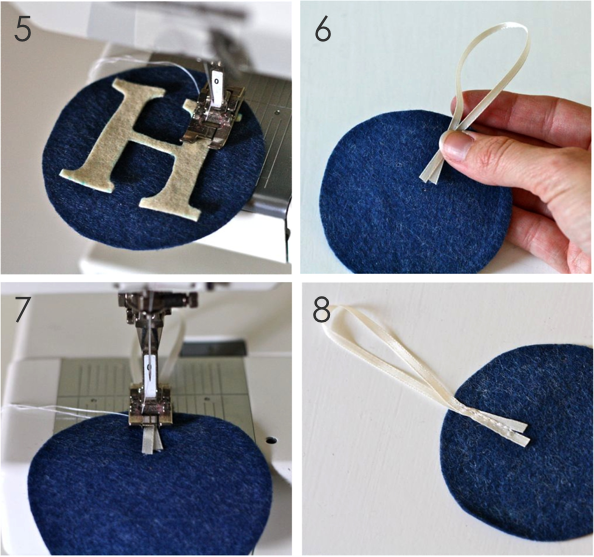 We’re almost done here! Easy, right?!
Time to sew the front and back together. This can also be done by a machine but I prefer hand sewing here so it has a more handmade look.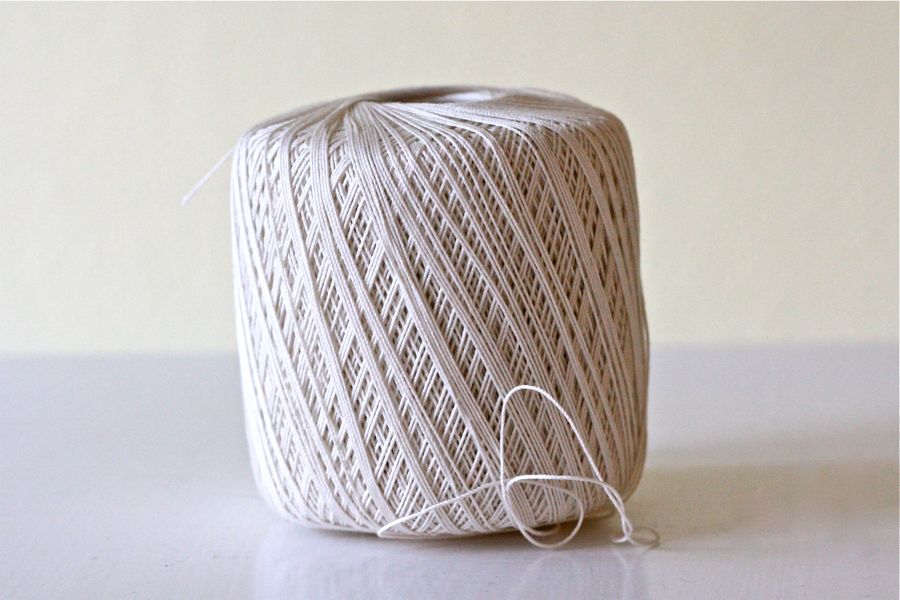 Using embroidery thread of crochet yarn (pictured above), thread a needle and you’re ready to go. Start first on the Back piece, piercing from the inside of the ornament out (this will hide your knot inside of the ornament). Then place the Front piece on top and come back up through both pieces. Continue stitching up and down around the ornament. Make your stitches wider on the top side of the ornament and smaller on the back. You can also use a whipstitch but I prefer the up-down look. Simpler.
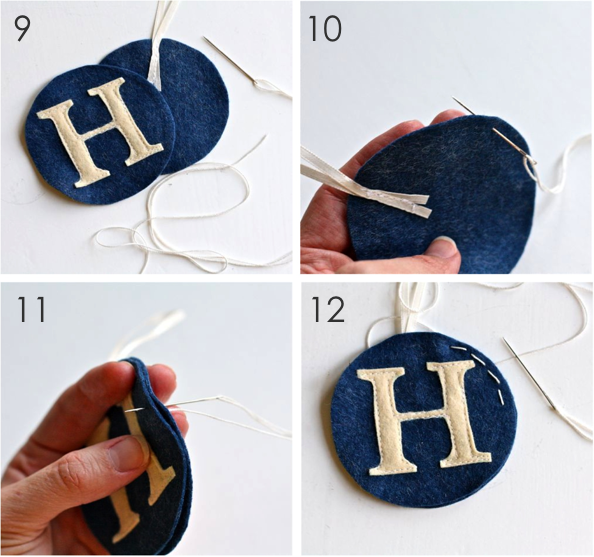 Continue all the way around with the stitching, leaving a small opening for stuffing batting inside (do not tie off your thread, leave it hanging and attached, ready to sew again). Use any kind of batting (or you can go without. I prefer the 3 dimensional look) and stuff a bit of fluff inside. Then press the front and back together and sew it closed. Tie a small knot in your thread and you’re done!
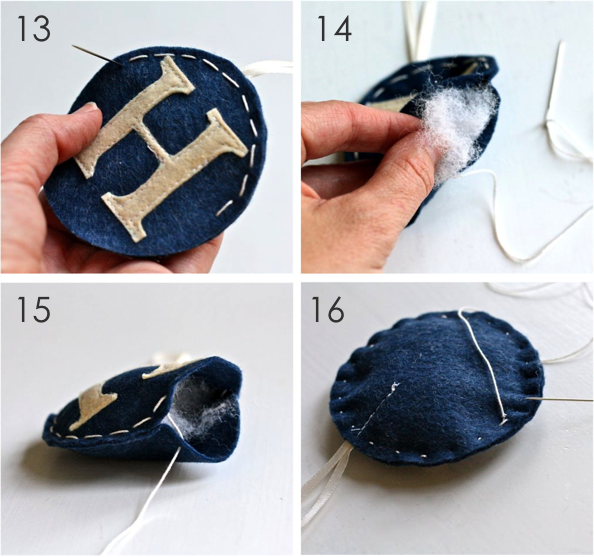 One letter H for baby Henry. I made a set of ornaments for his family last year and I’m happy to add on to the collection.
 Merry Christmas!
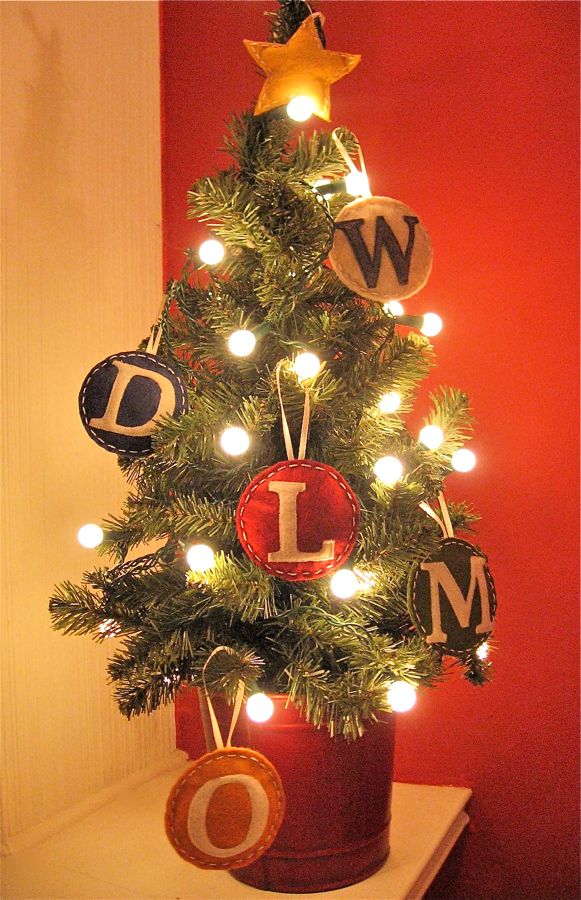 For more tutorials and simple DIY ideas, please visit us at MADE.