I’ve had several emails and comments asking specifics in how I skinnified Hank’s tees. I often take in tops that I find thrift store shopping using the same process. I’m no expert and I’d love to hear your suggestions as well. Does this kind of process work for you or do you have another method you prefer? In this case I was taking in a cardigan from a thrift store that was a little too big.
1. I tried it on, inside out. You can also use a shirt you already have that fits well and place it on top of your larger one to see how much you need to take in on each side. That’s probably the easy way to do it when you’re working with a squirmy toddler.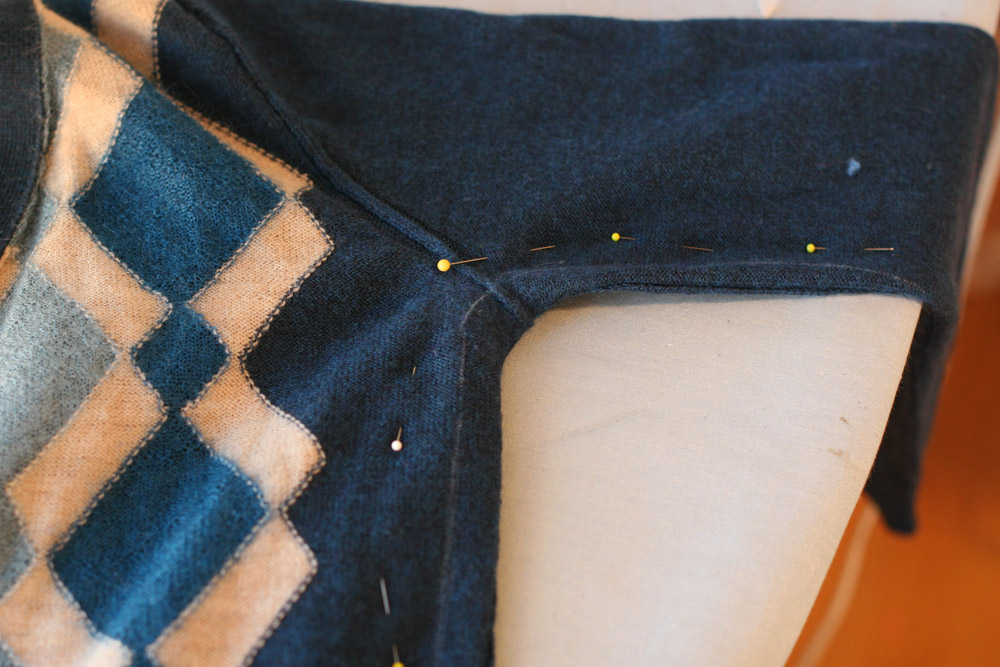 Do the arms also need to be taken in? Often they do as well. For this sweater, I needed about an inch taken in on each side and about 1/2 an inch on the arms up to the elbow.
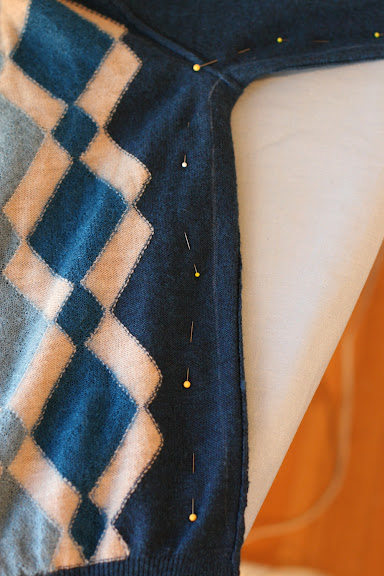
2. Then I took if off, and pinned, making sure the seam is right on the edge. If you don’t need to take in any on the arms you will have to taper your hem to hit the original seam at the armpit. This will probably limit the amount you will be able to take in on the sides, otherwise it will be a little funny shaped.
3. After laying flat and pinning, I use a straight edge and chalk roller to draw a line one inch in from the seam on each side of the sweater. (Again, the sweater is still inside out).
4. Sew along that chalk line. Remember to start on the original seam. The trick is about making a nice graaaaaaadual taper so there’s no pukering where your new hem hits the old hem.
5. After sewing I cut off the excess with pinking shears and with Hank’s tees, ironed the seam open and flat.
Any tips? Does this type of method work for you?