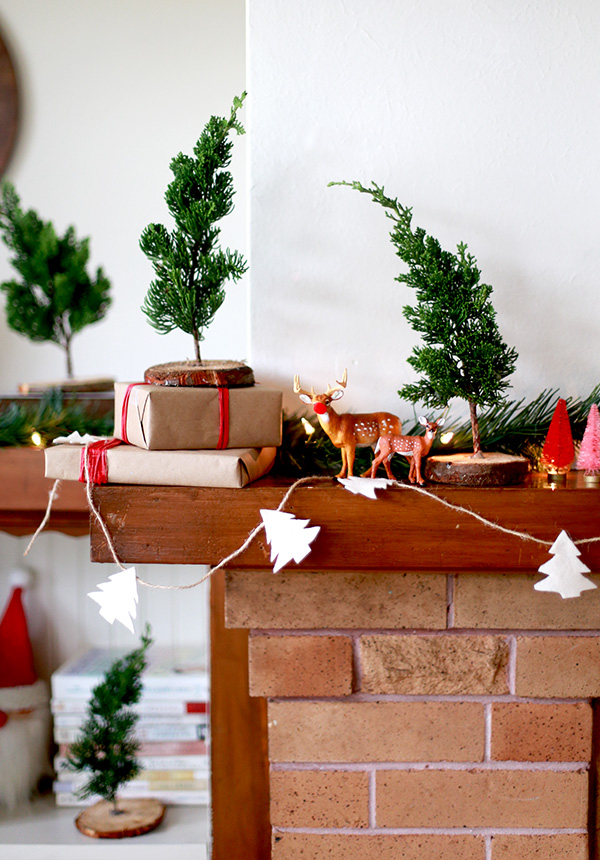
When we go to Christmas tree lots I’m often found trailing behind the family with my eyes scanning the ground for the perfect pieces of flat, cut tree stumps and greenery like a crazed 5am Black Friday shopper. This time as I climbed into the car a few minutes after the rest of the family Jared rolled his eyes and knew exactly what I was up to, “craft project”. BINGO. You know me too well. I love using free, salvaged greenery to make home decor and these mini trees do not disappoint! They’re hanging out on our mantle and bookcases, making the perfect little Christmas forest.
Here’s how we made them…
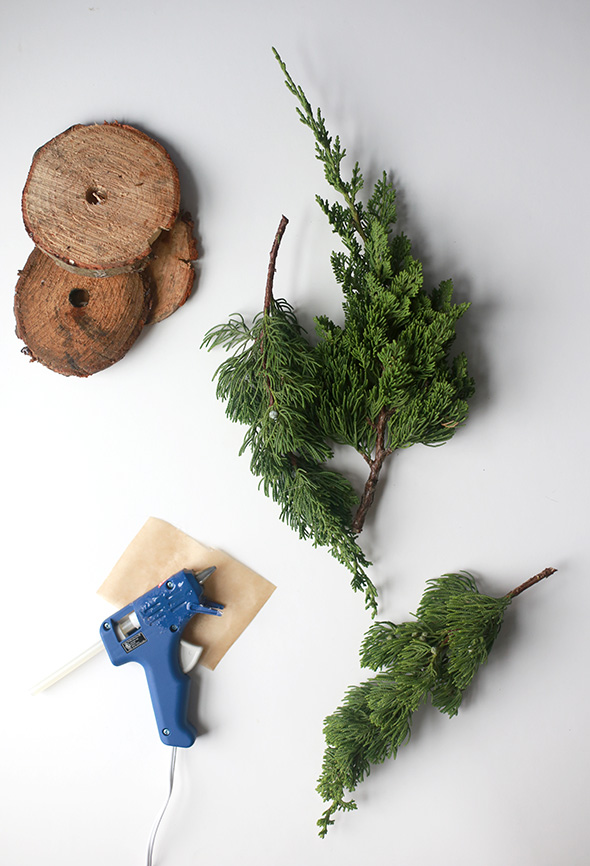
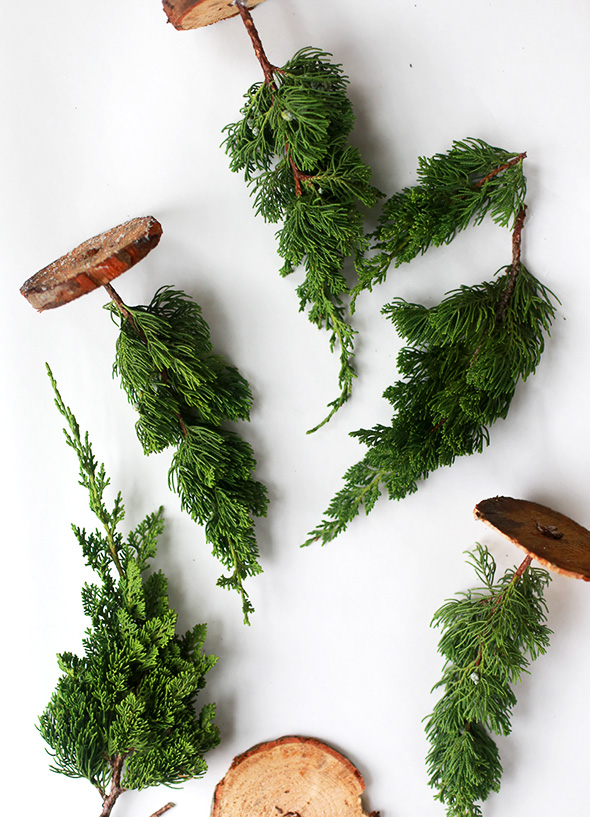
Supplies: Tree trimmings (really any type), tree trunk stumps or wooden flat disks (at the tree lots as well, ask if you don’t see them–they’re usually just in a pile by the chainsaws), hot glue gun
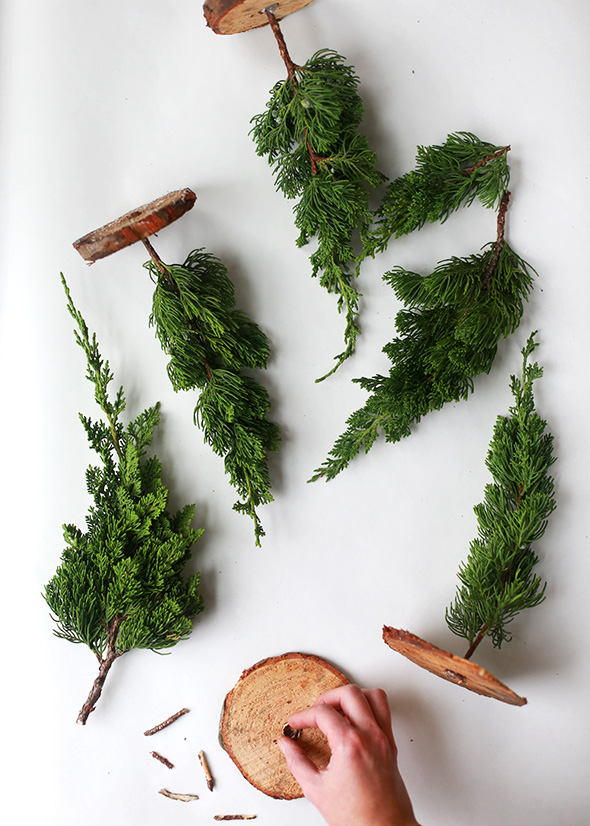
Step 1: The holes in the tree stumps were much larger than the diameter of the branches so we stuffed a few pieces of bark in there first.

Step 2: Place your trimmings branch in the hole and fill with hot glue. Hold the branch upright and steady while it dries for a minute or so.
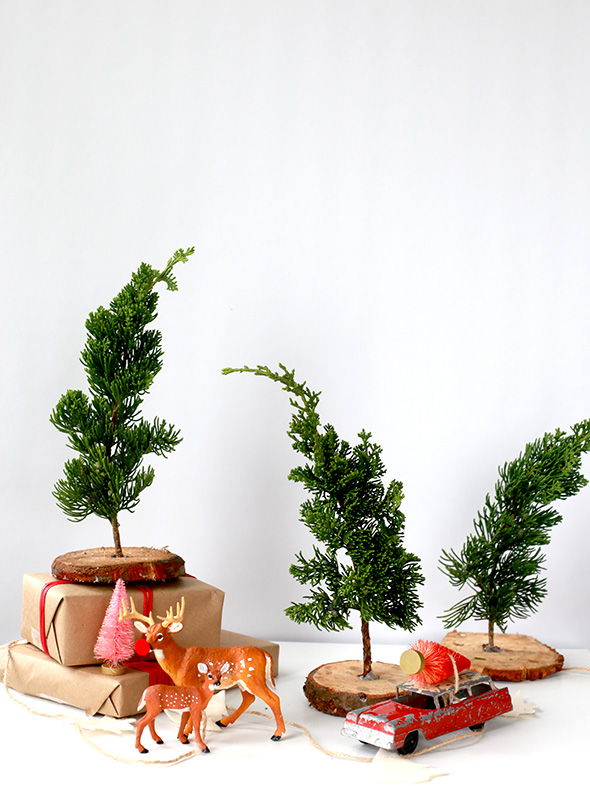
That’s it! Decorate your forest with mini reindeer (we gave ours a pom pom Rudolph nose) and colorful bottle brush trees.
Photography and styling by Liz Stanley. Assisted by Sarah Iveson and Sara Albers