Last month we found beautiful hardwood floors under the carpet several rooms and decided we wanted to try and refinish them ourselves (a little insane? possibly). We’re sharing the whole process in a series of three posts with The Home Depot. Want to see how it all began?

DIY Refinishing Hardwood Floors: Part 1
When we first moved into this home, we were renting so my brain automatically filtered through any home improvement projects to focus on the ones that would be renter-approved. Paint. Window treatments. Lighting. Decor Etc.
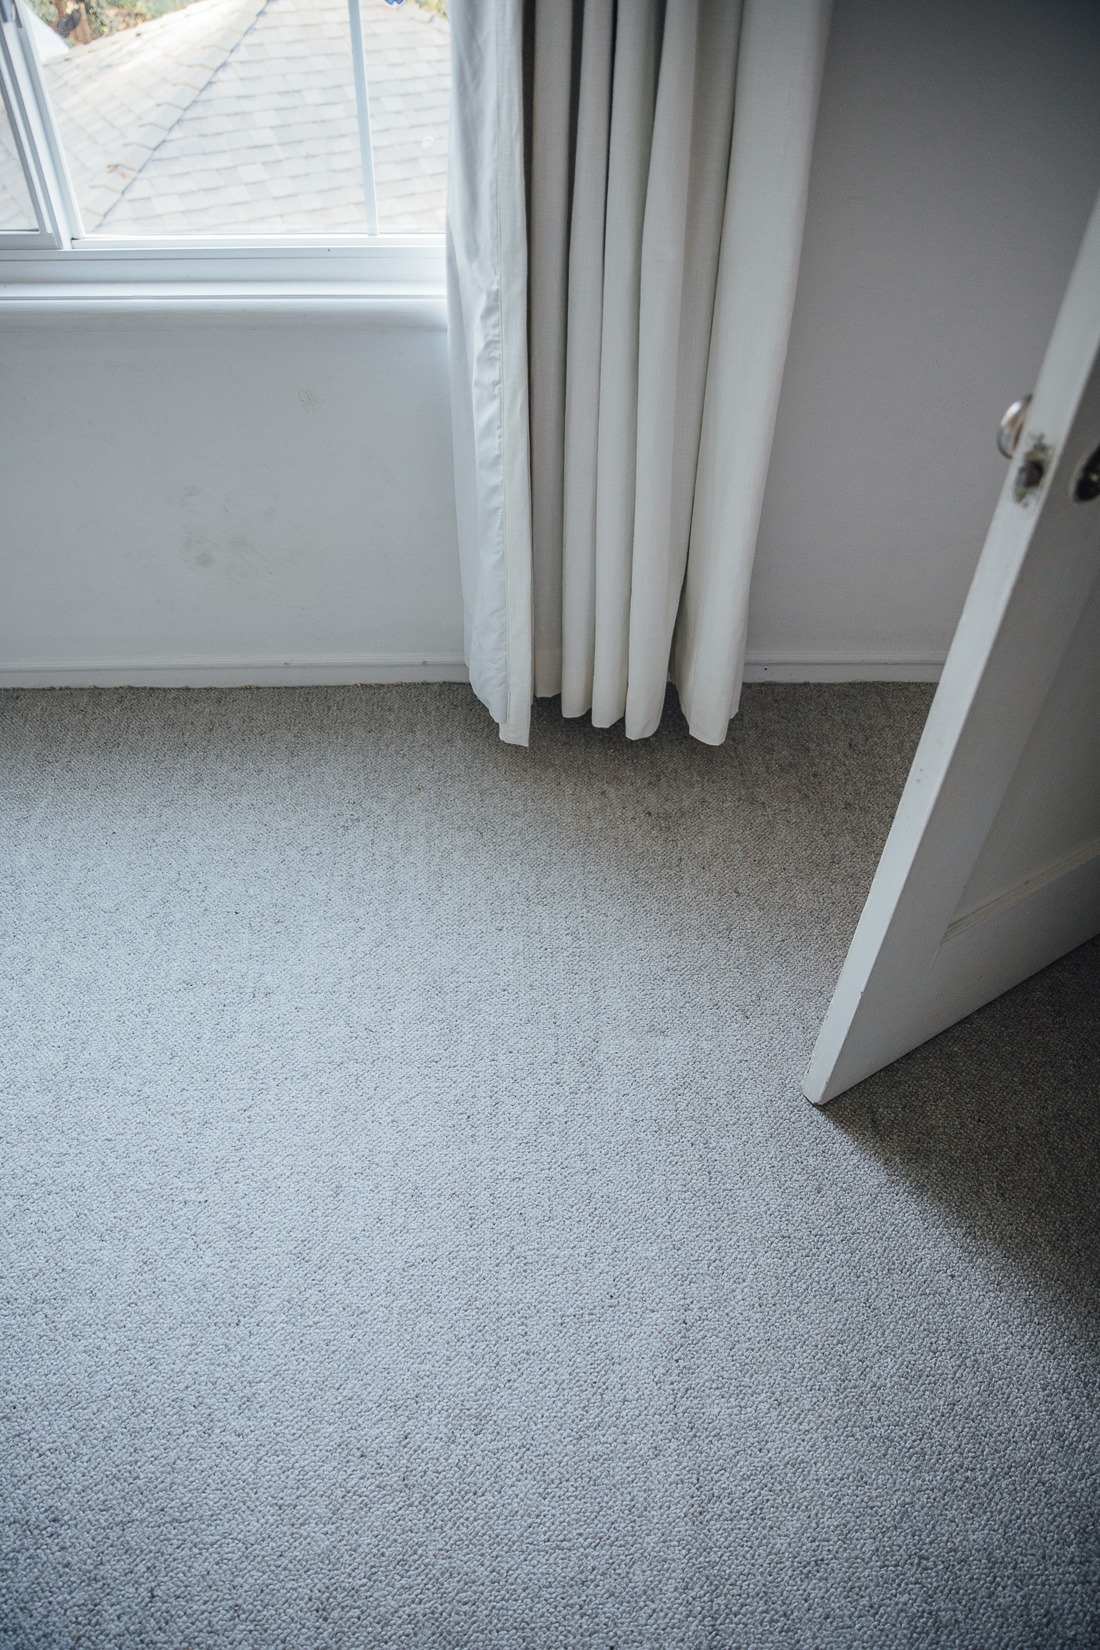
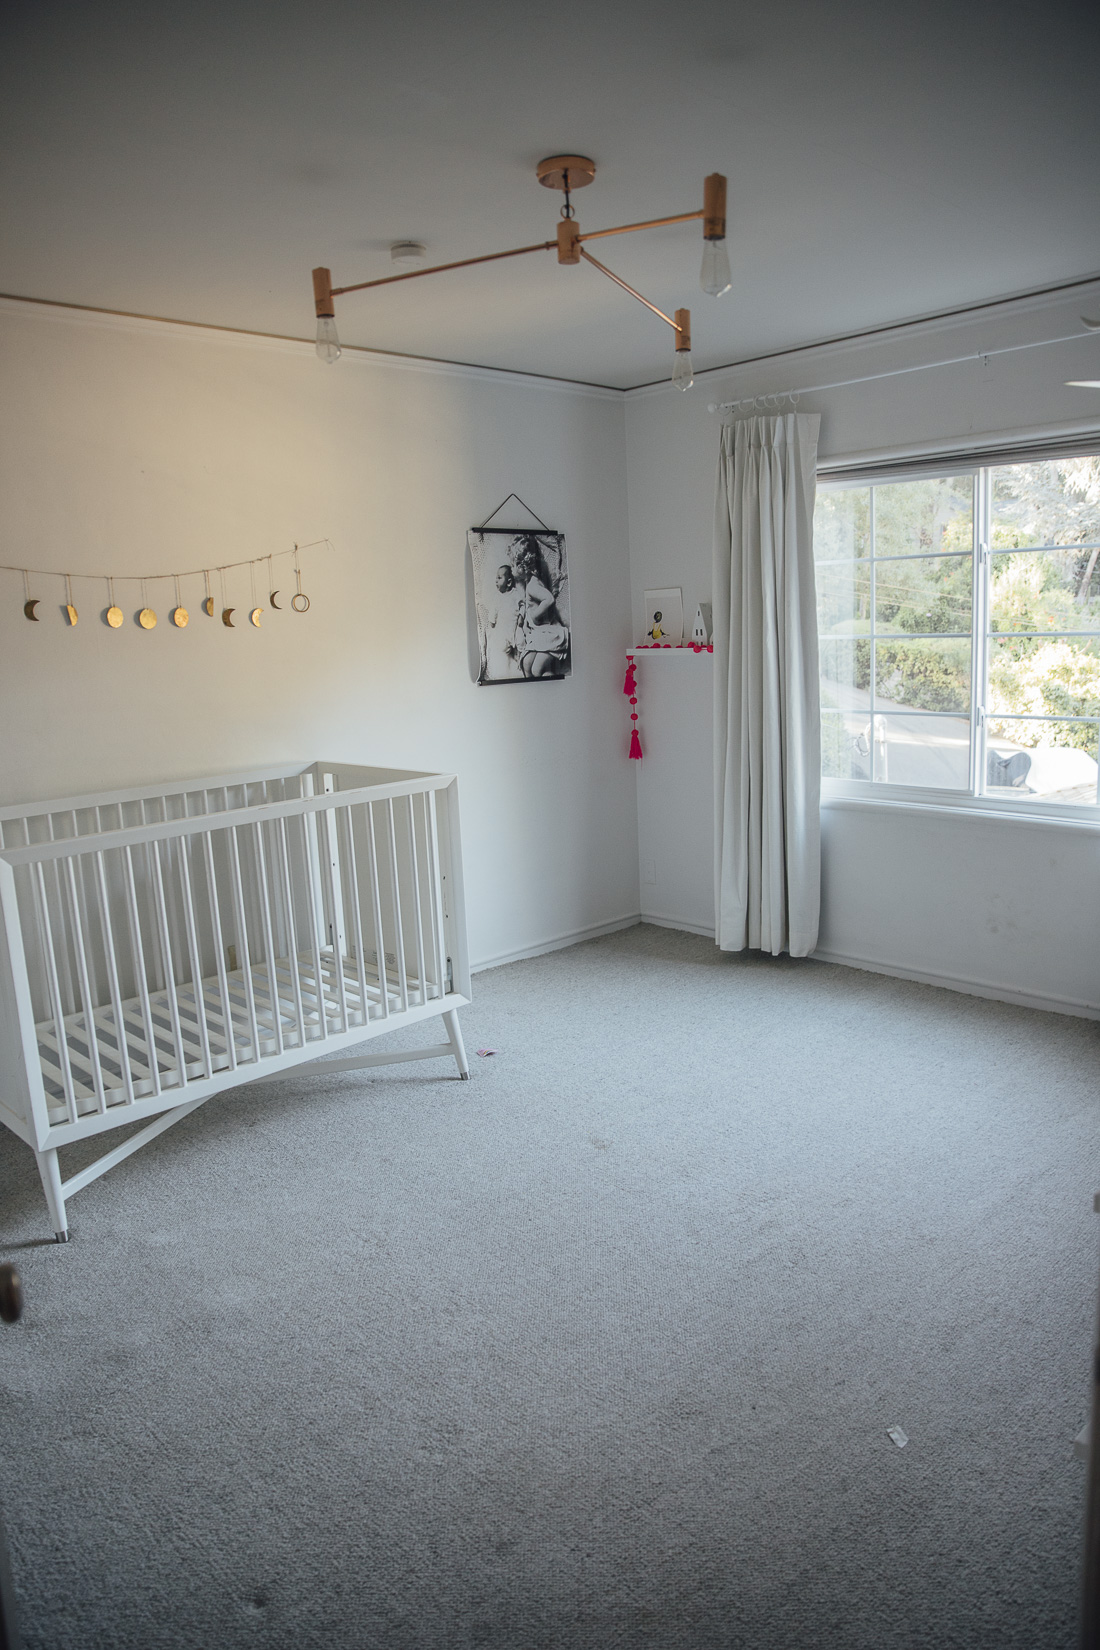
Several rooms had carpet. The whole downstairs (playroom, guest bedroom), and both the master bedroom and sewing room (which became our girls room) upstairs. As a renter, I didn’t love the carpet, but I didn’t dwell on it knowing not much could be done as a renter. I focused my energy on other projects. Decorating, lighting, painting. Luckily, the carpet was in pretty good shape and a neutral color.
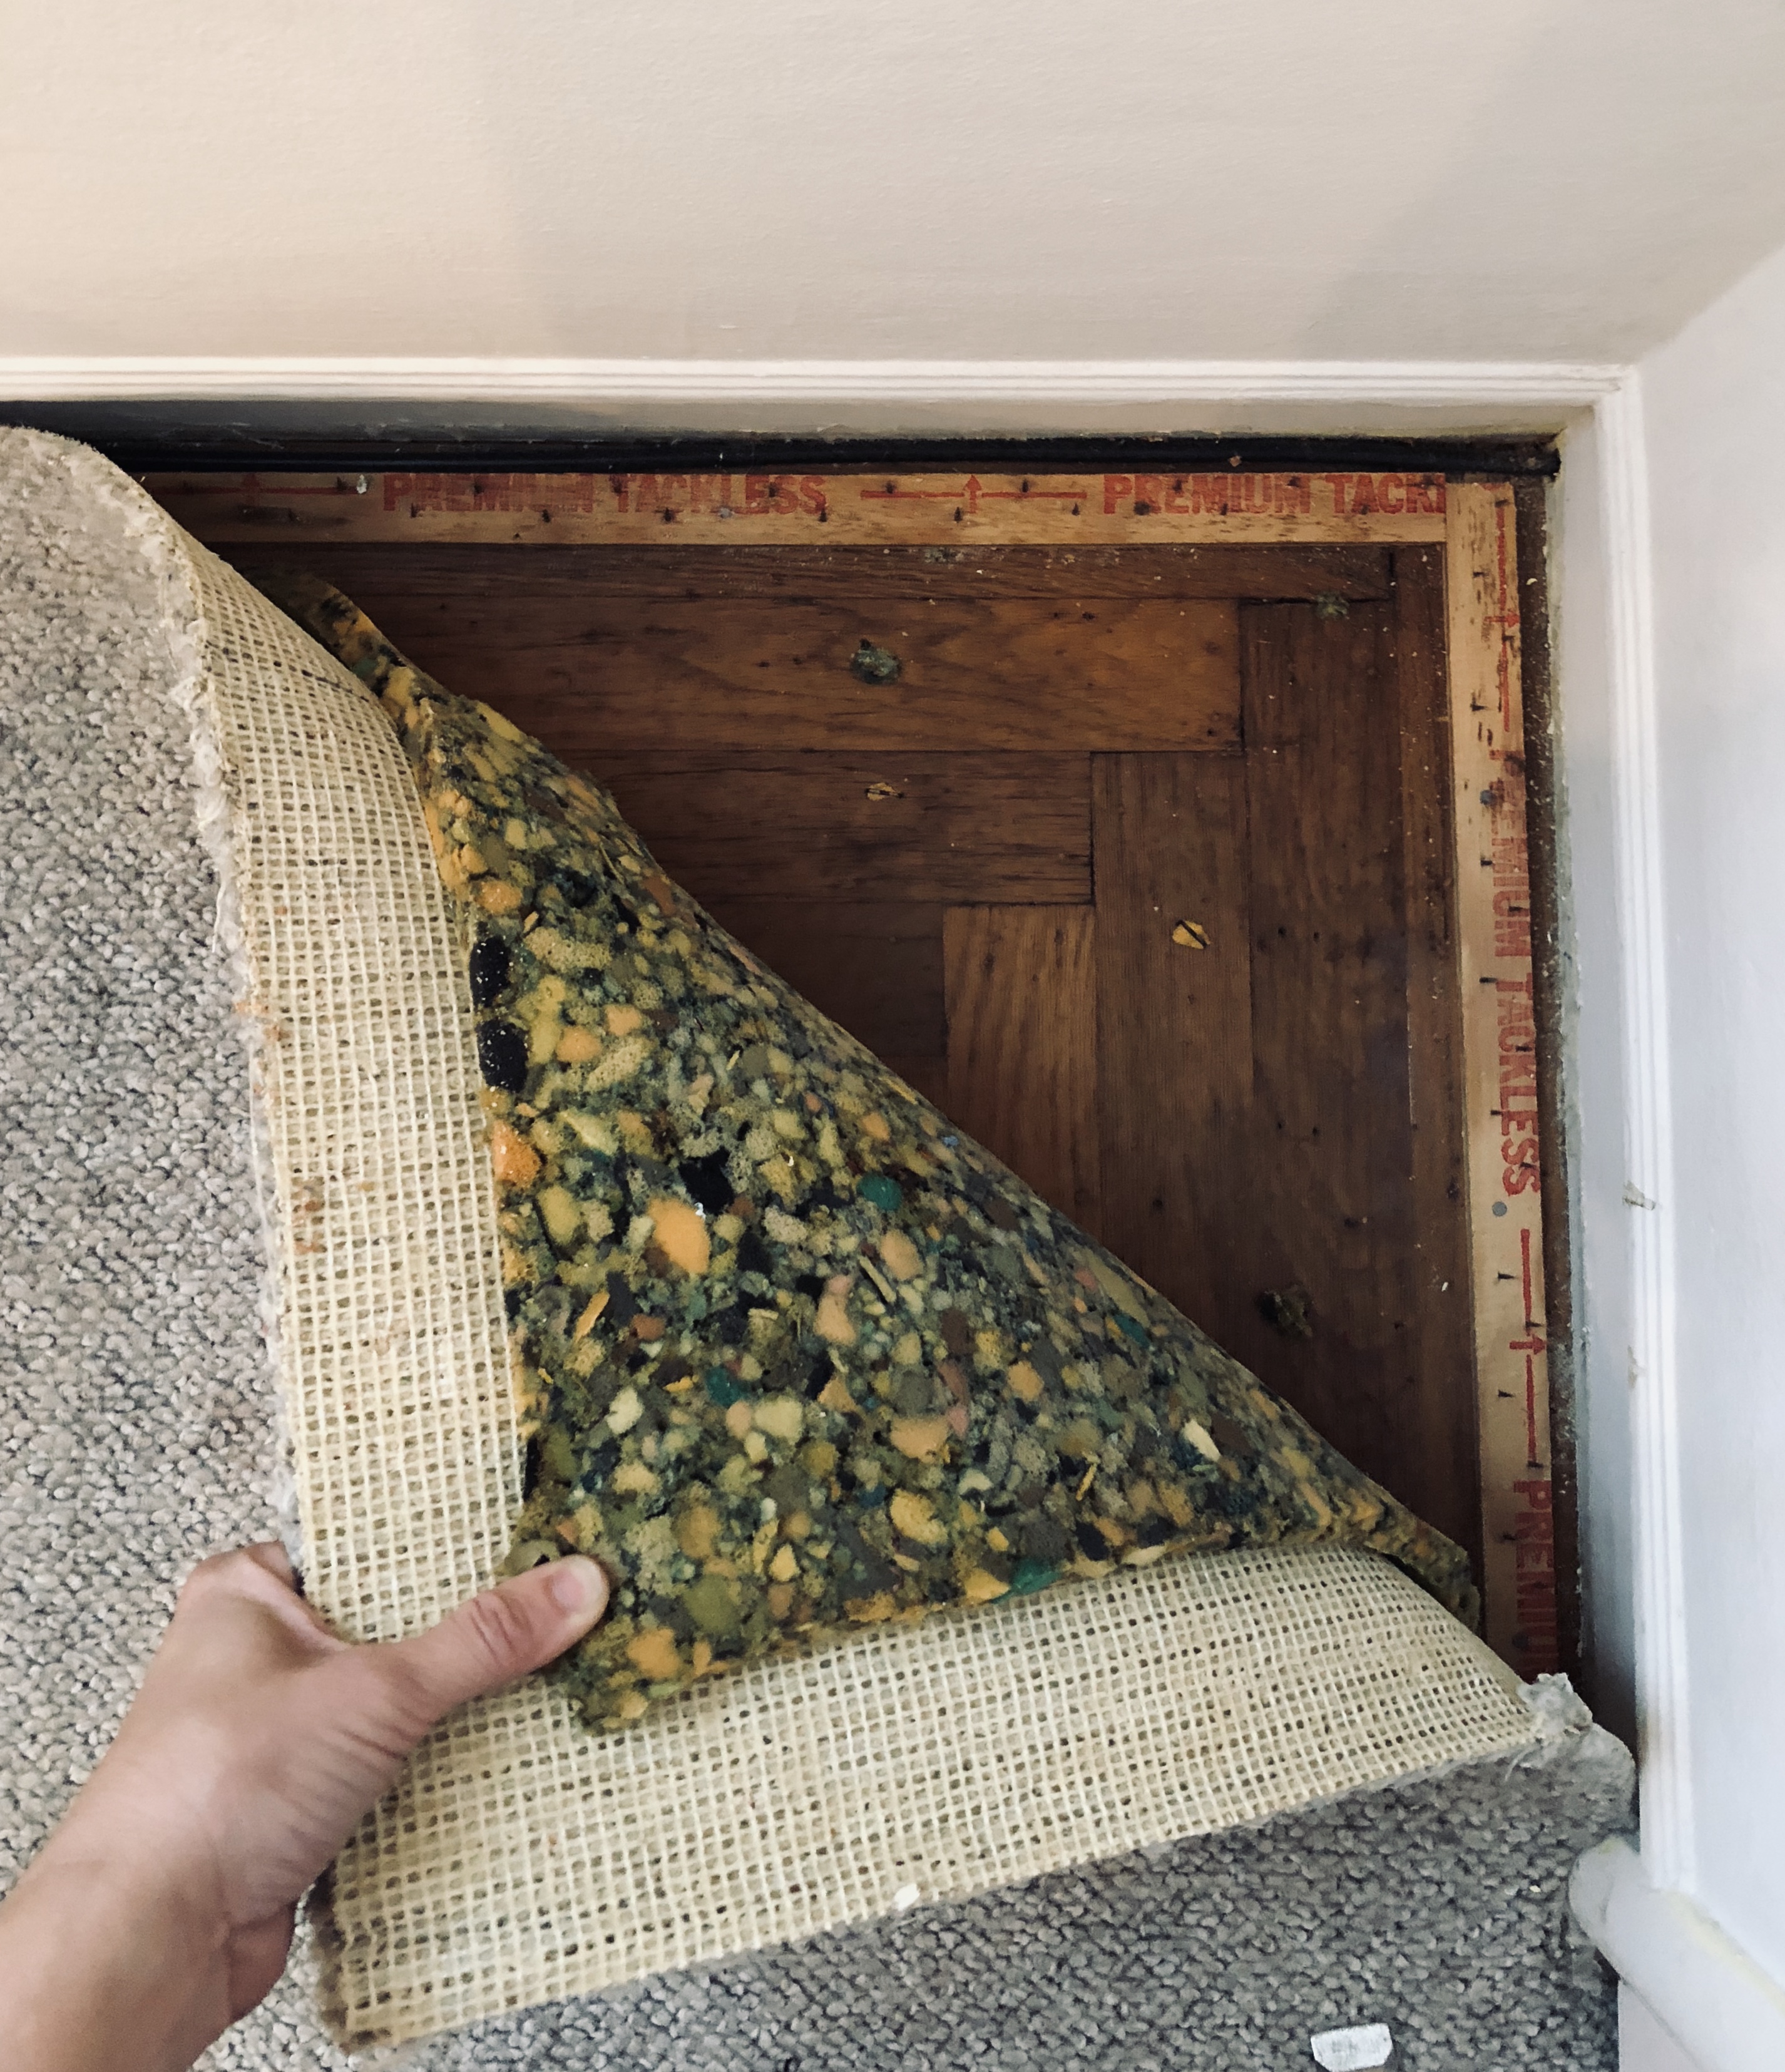
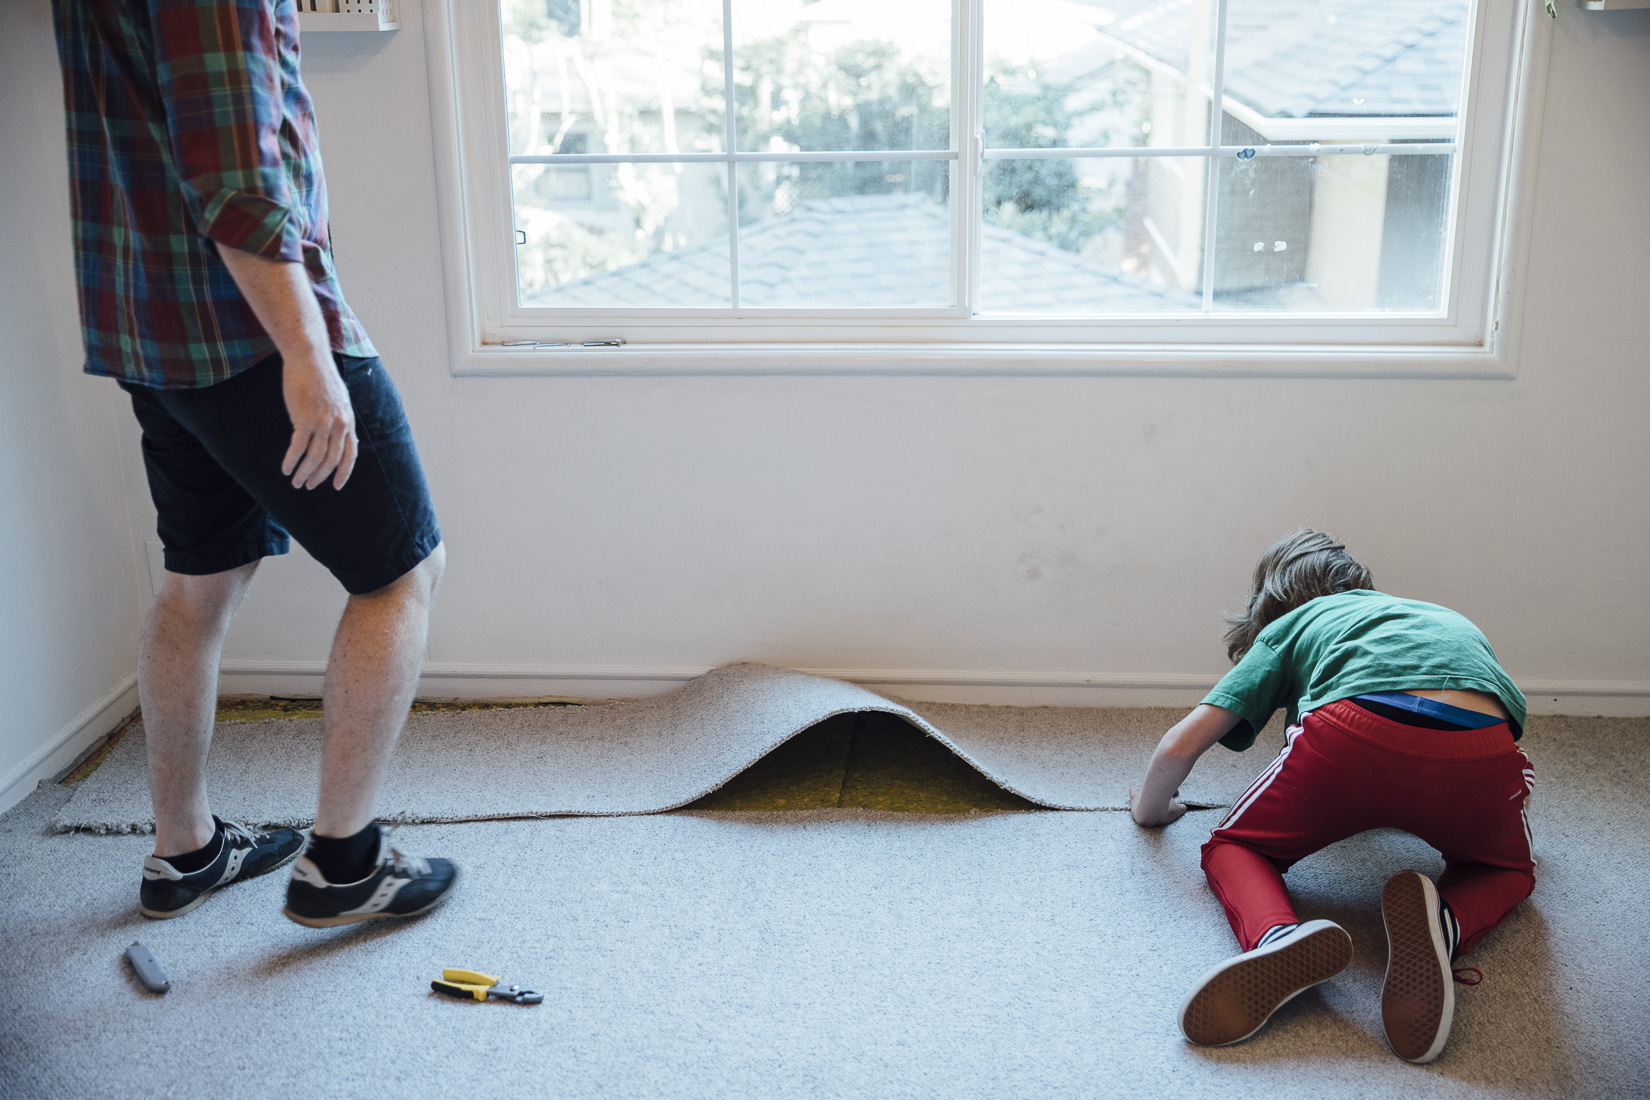
Then after buying the home last year, I started to see things differently. That darn carpet really starting to bug me and the idea of hardwood floors throughout the home made my heart flutter a bit. It was impossible to keep clean (Dot may or may not have had several accidents in the same spot in their room), and I kept on imagining what might be hidden underneath it. Last month I finally pulled up the corners to look and… JACKPOT! I was delighted to find the same original hardwood floors in every single carpeted space (including the basement which is quite unusual).
I moved everything to one side, pulled the carpet up, and then put it back down and everything to the other side, pulled that side up up, and back down. Relieved to find there were no major problems in their room (like sections that would have to be completely replaced). Totally just a weekend project, right??
At this point I was chatting with my friends at Home Depot about some of the home projects we had coming up and I mentioned our new original hardwood floor discovery. They were interested in partnering with us to get the floors fixed up (yaaayy!) and so I’ll be sharing a series of three posts on what the process was like to DIY it all.
The general plan is this: carpet/padding removal, trim/staple removal, renting a professional sanding tool through the Home Depot Tool Rental department, sanding and then and finishing it with clear coats of polyurethane. All of a sudden, this seemed like a bit more than a weekend project. I called my sister and brother in law for reinforcements and they happily agreed to help for the weekend.
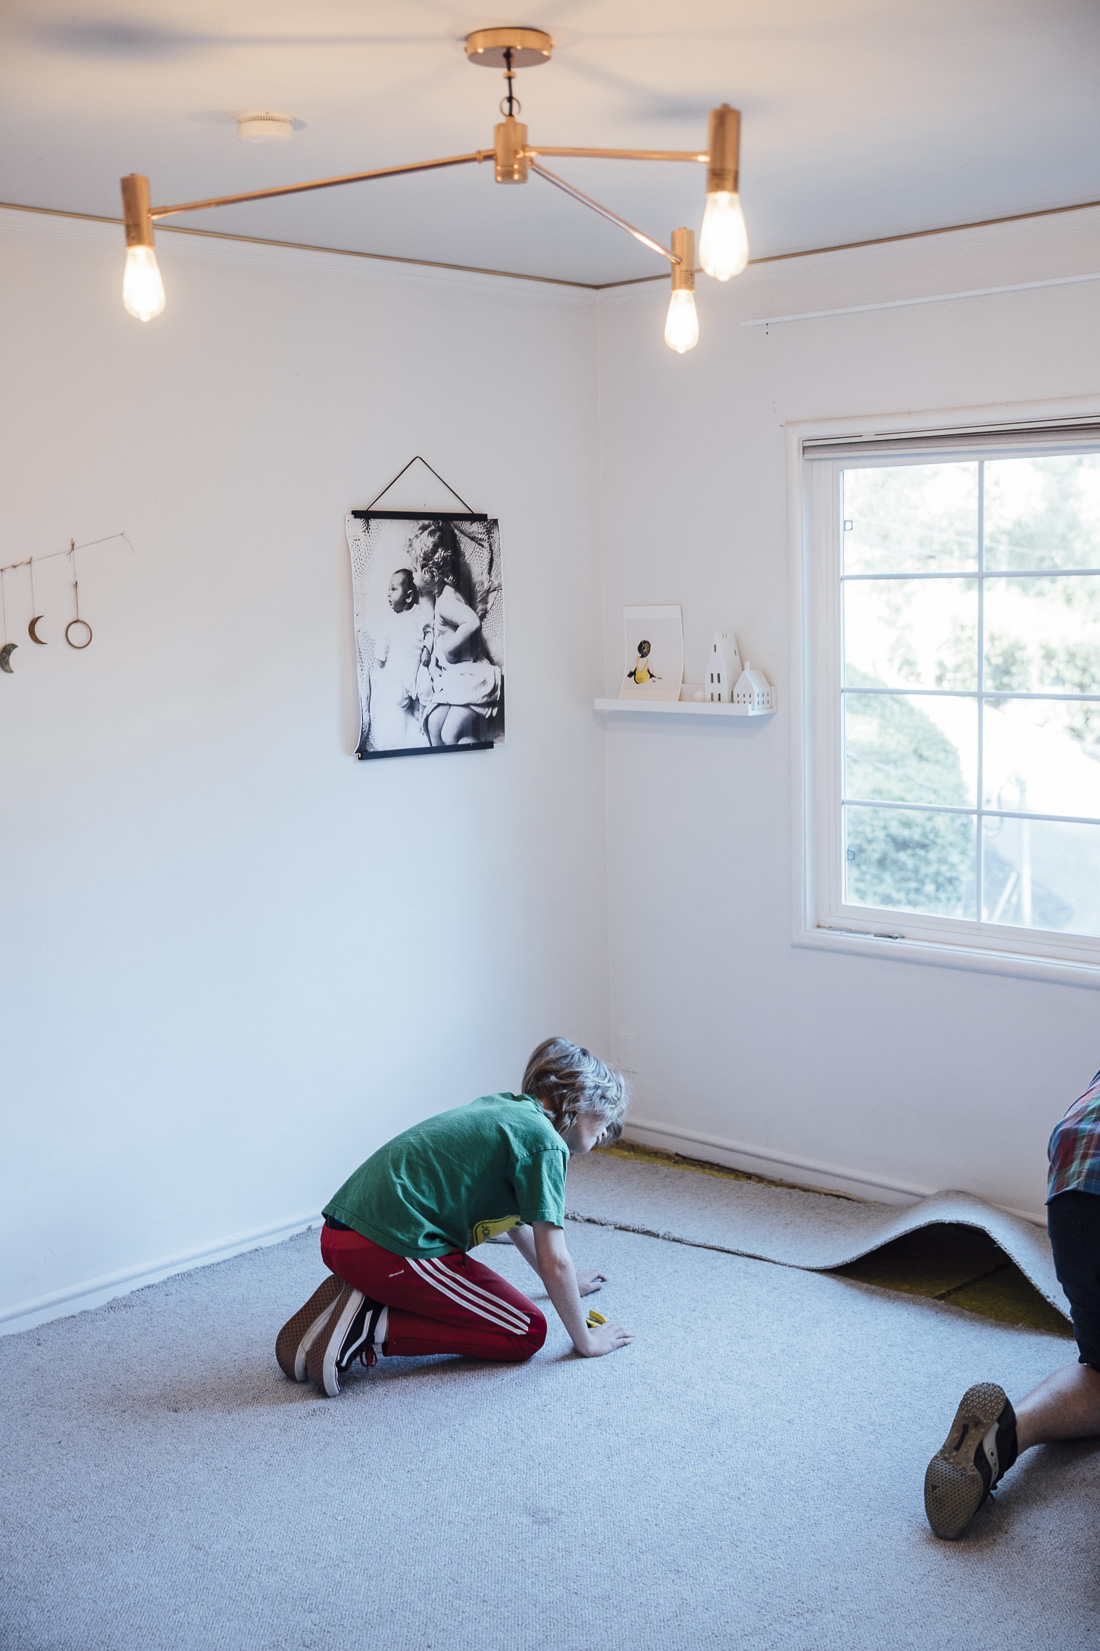
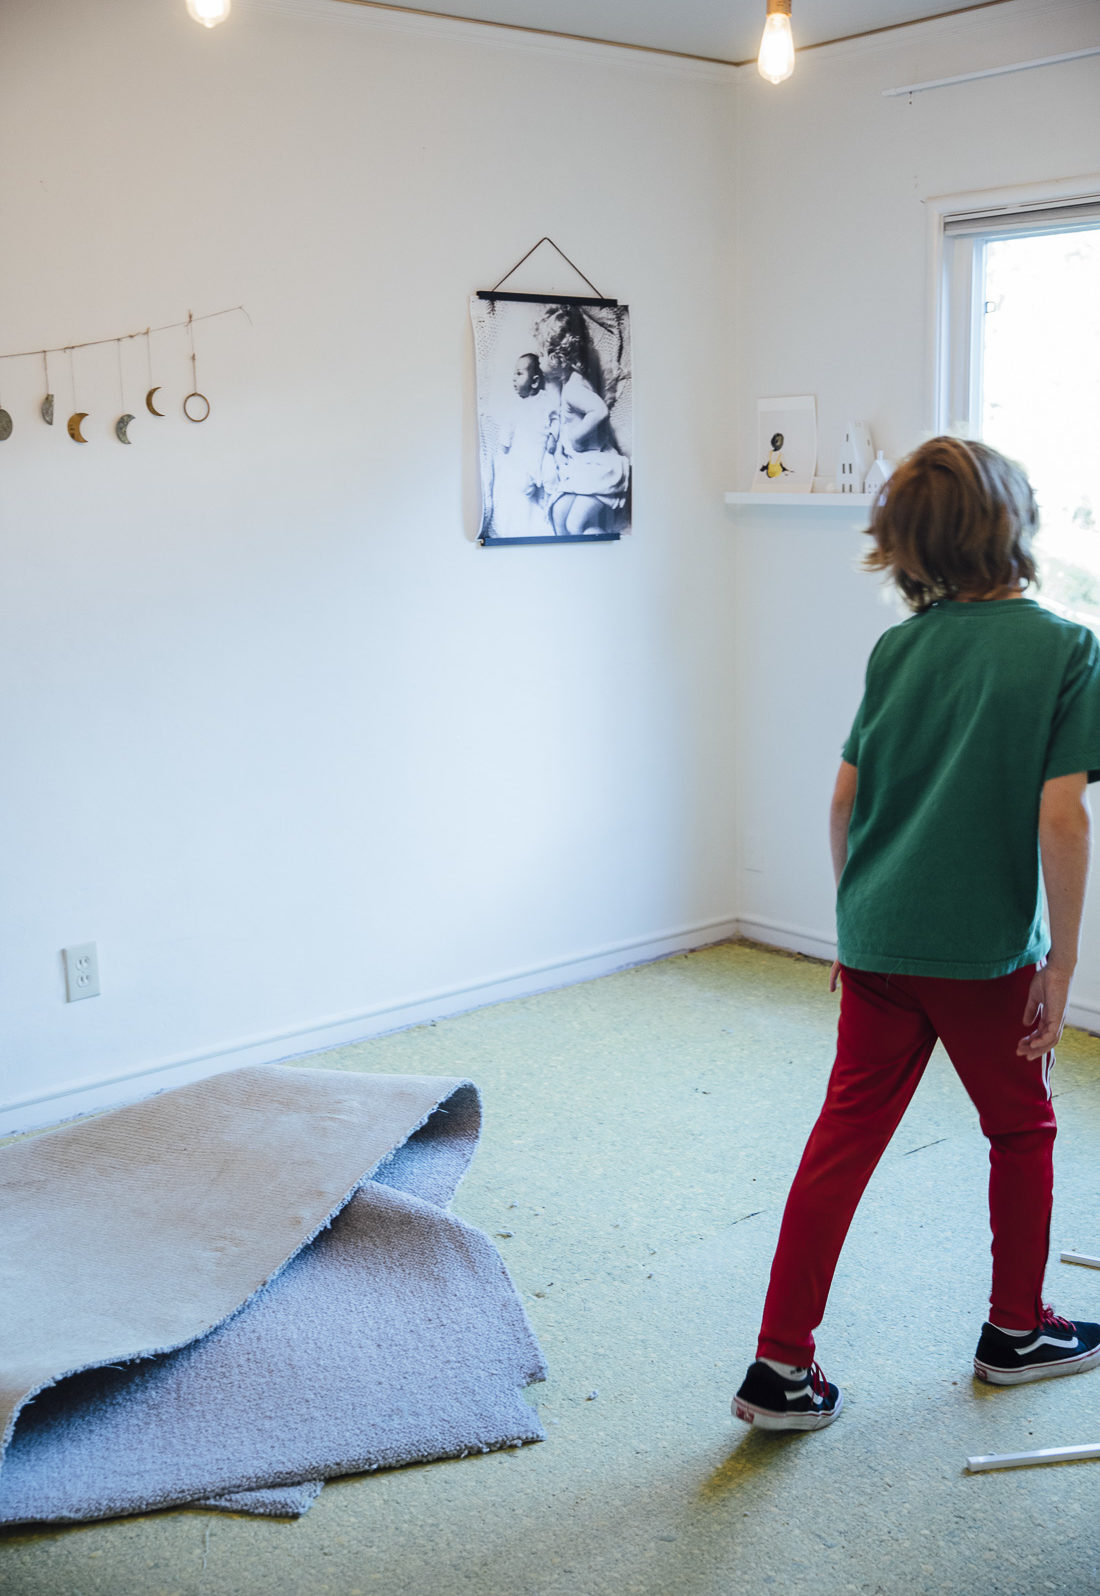
First off, we had to get rid of the carpet. You can find a time lapse video of it on my Instagram stories (and featured if you’re reading this after 24 hours). It was really fun to pull up! We ripped it in sections and then rolled it so it would be manageable to remove from the room and transport outside to the driveway. Then, we did the same with the padding underneath. It probably only took about 30 minutes to remove it all.
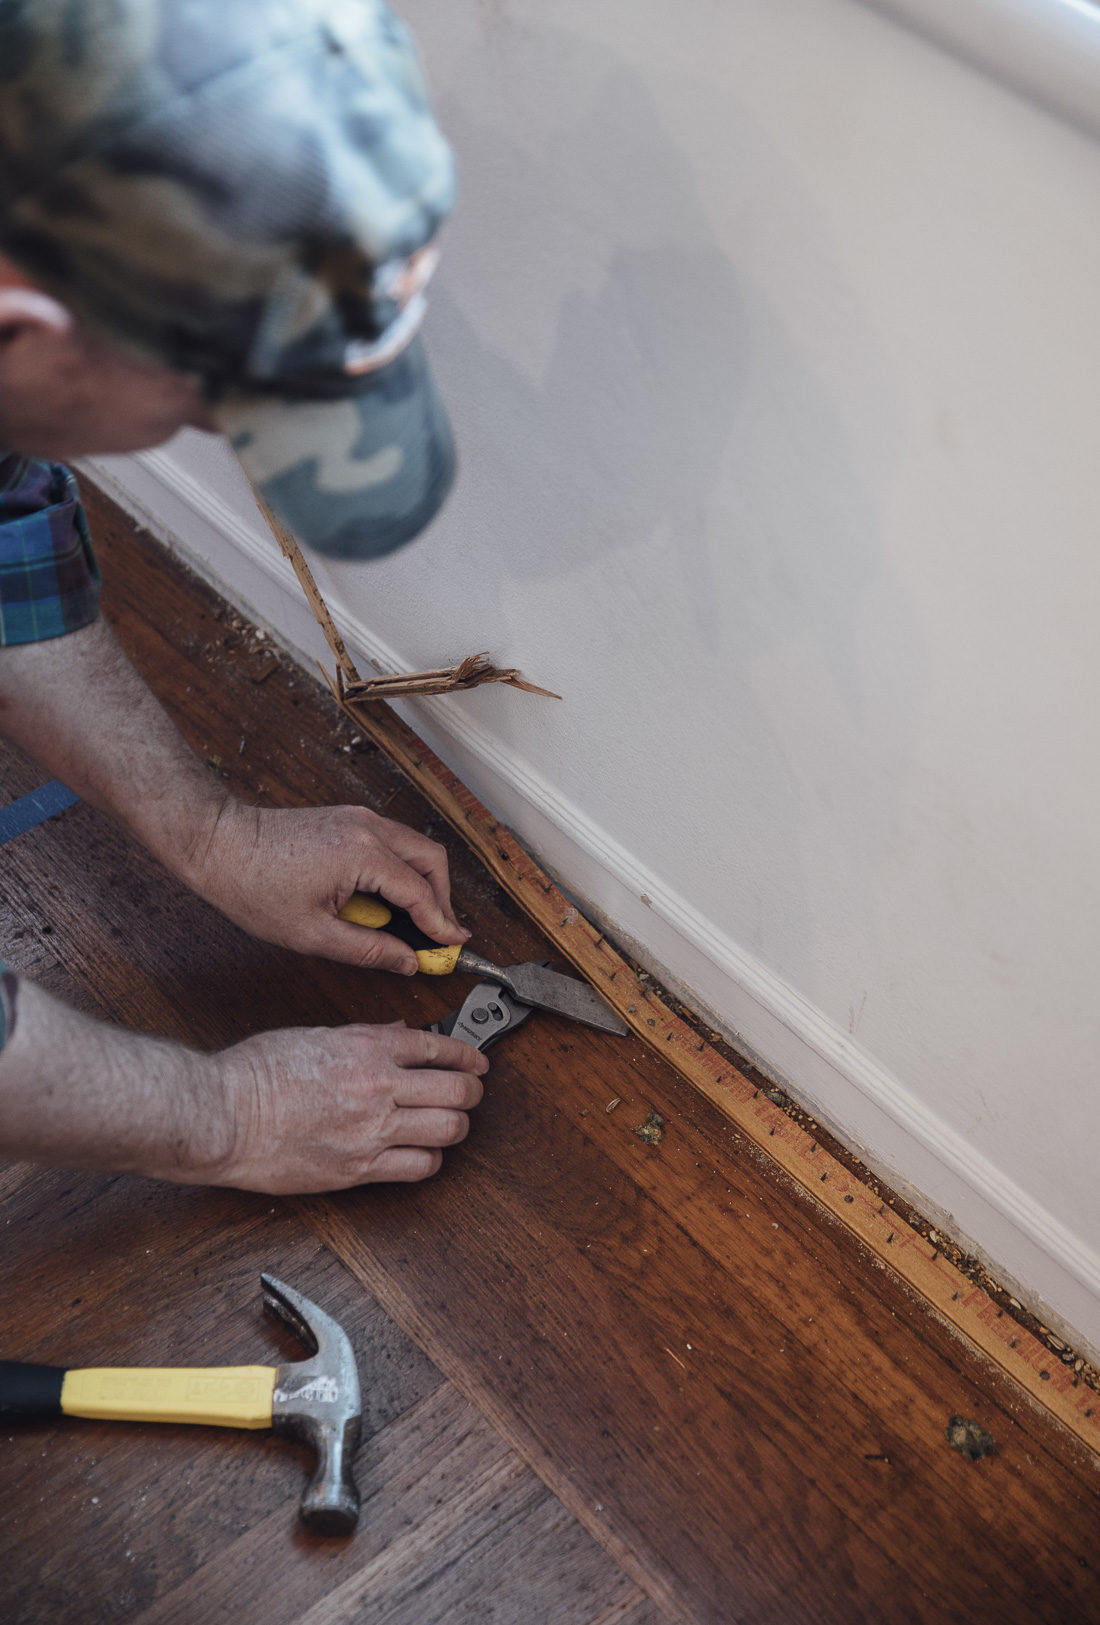
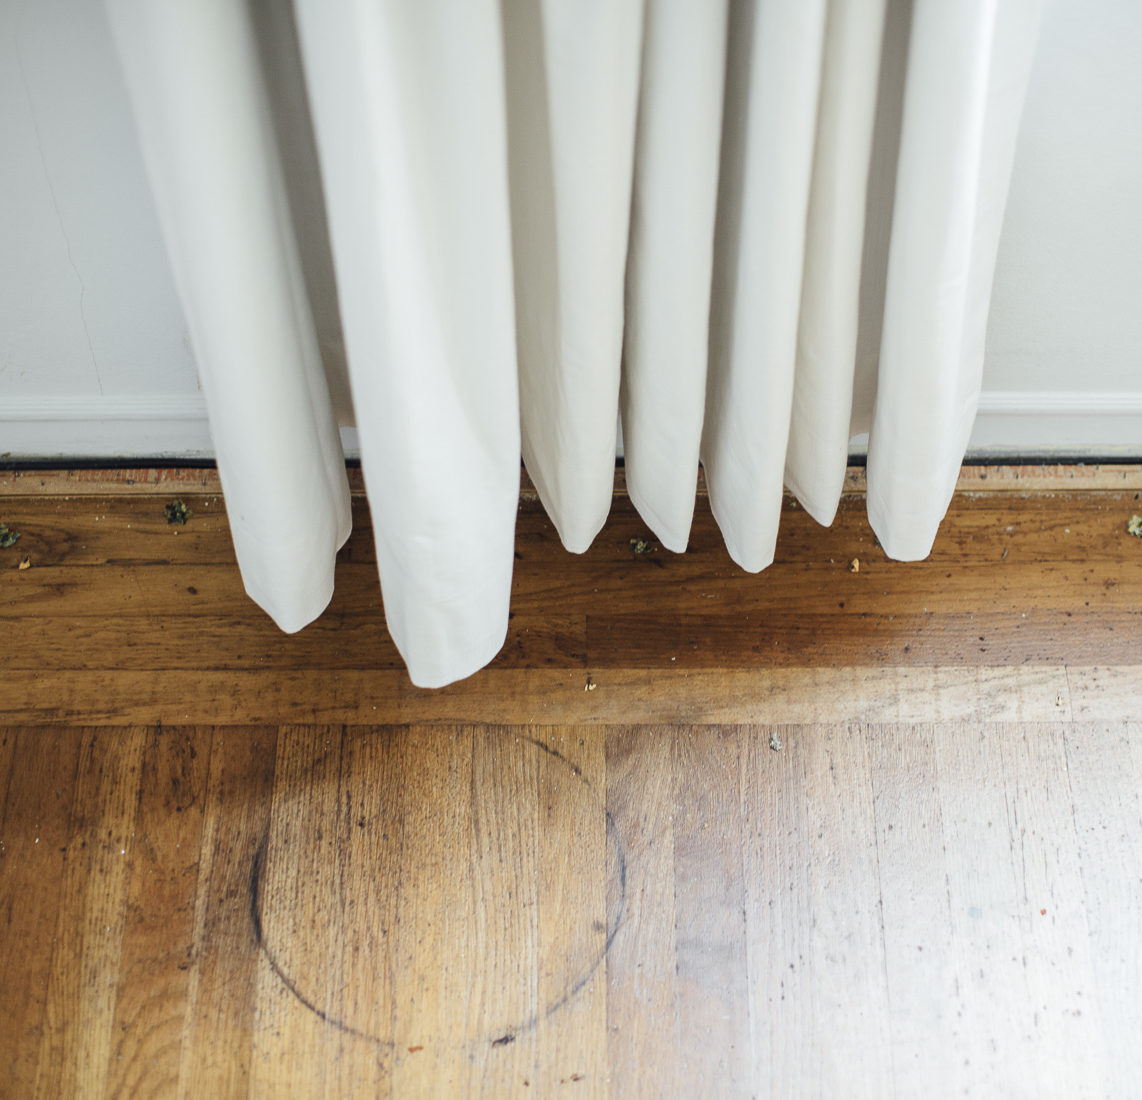
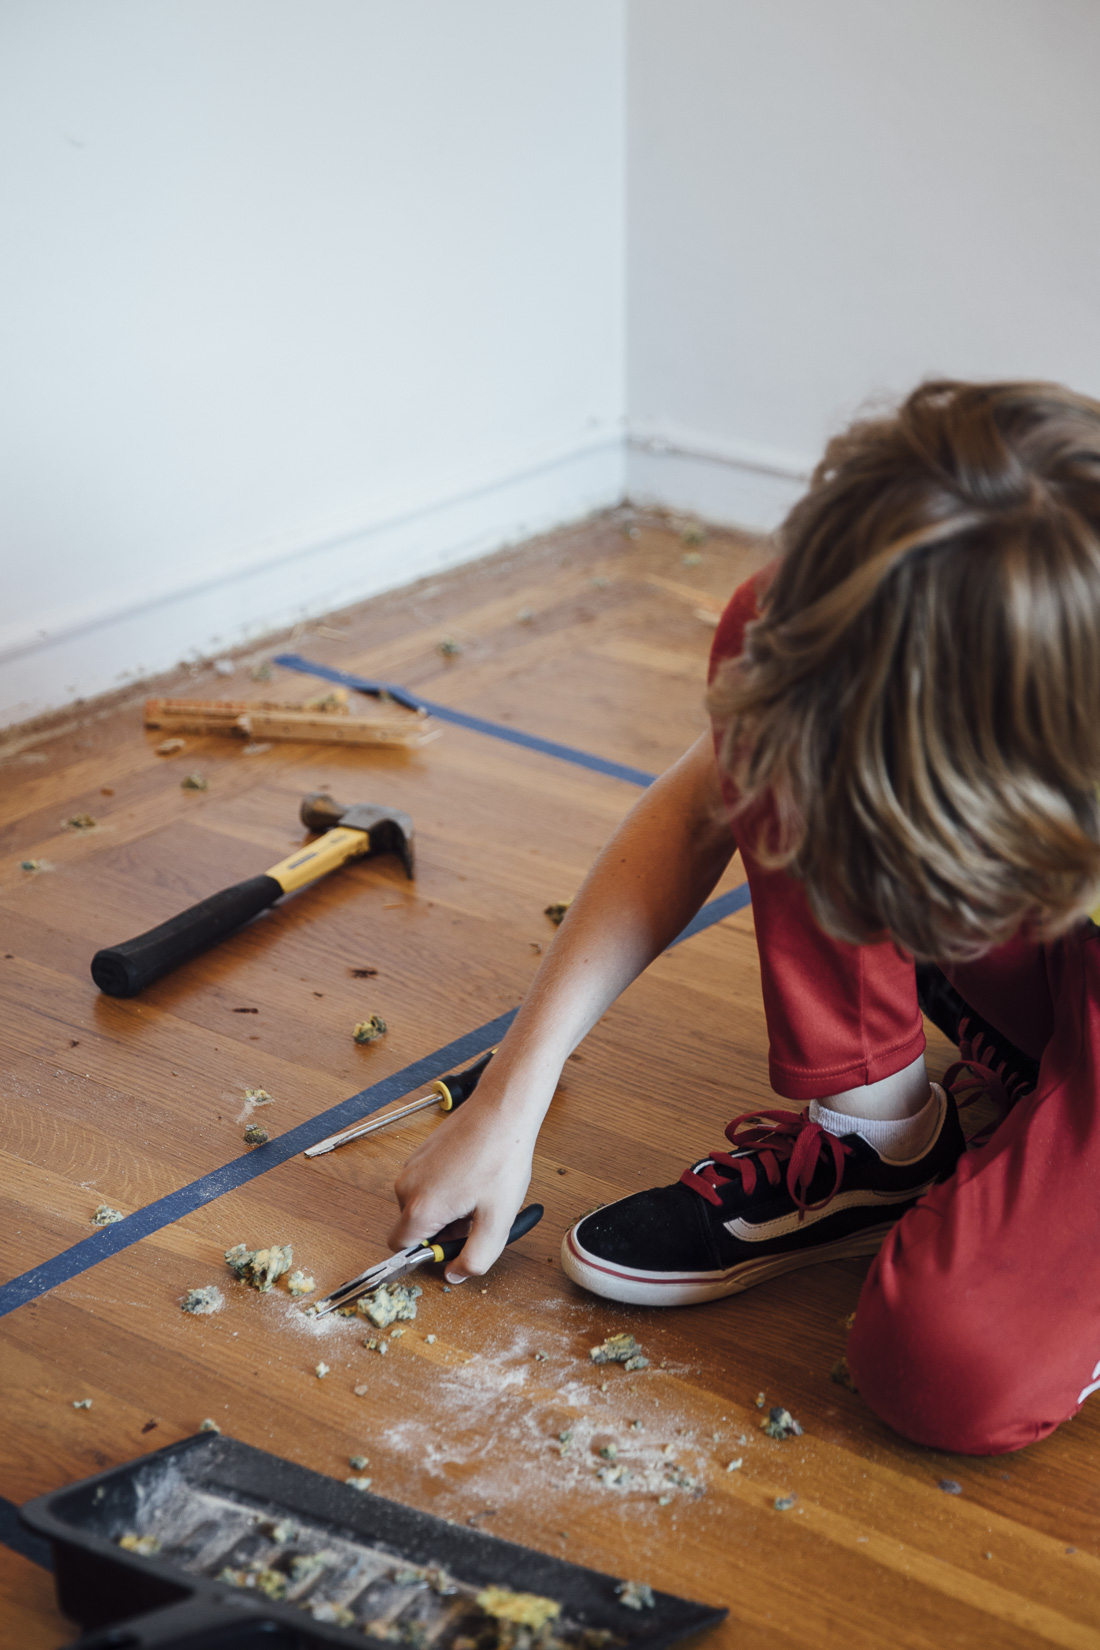
After that we needed to do a lot of smaller removals like the carpet trim nailed down along the sides of the room, and aaaaall the staples. To do this, we used tape to grid off sections of the floor so we could work systematically to remove everything. This worked out really well. For removing the trim we used a pry bar, and for the staples we used pliers and they worked fine, but there definitely are some fancy staple removing tools out there.
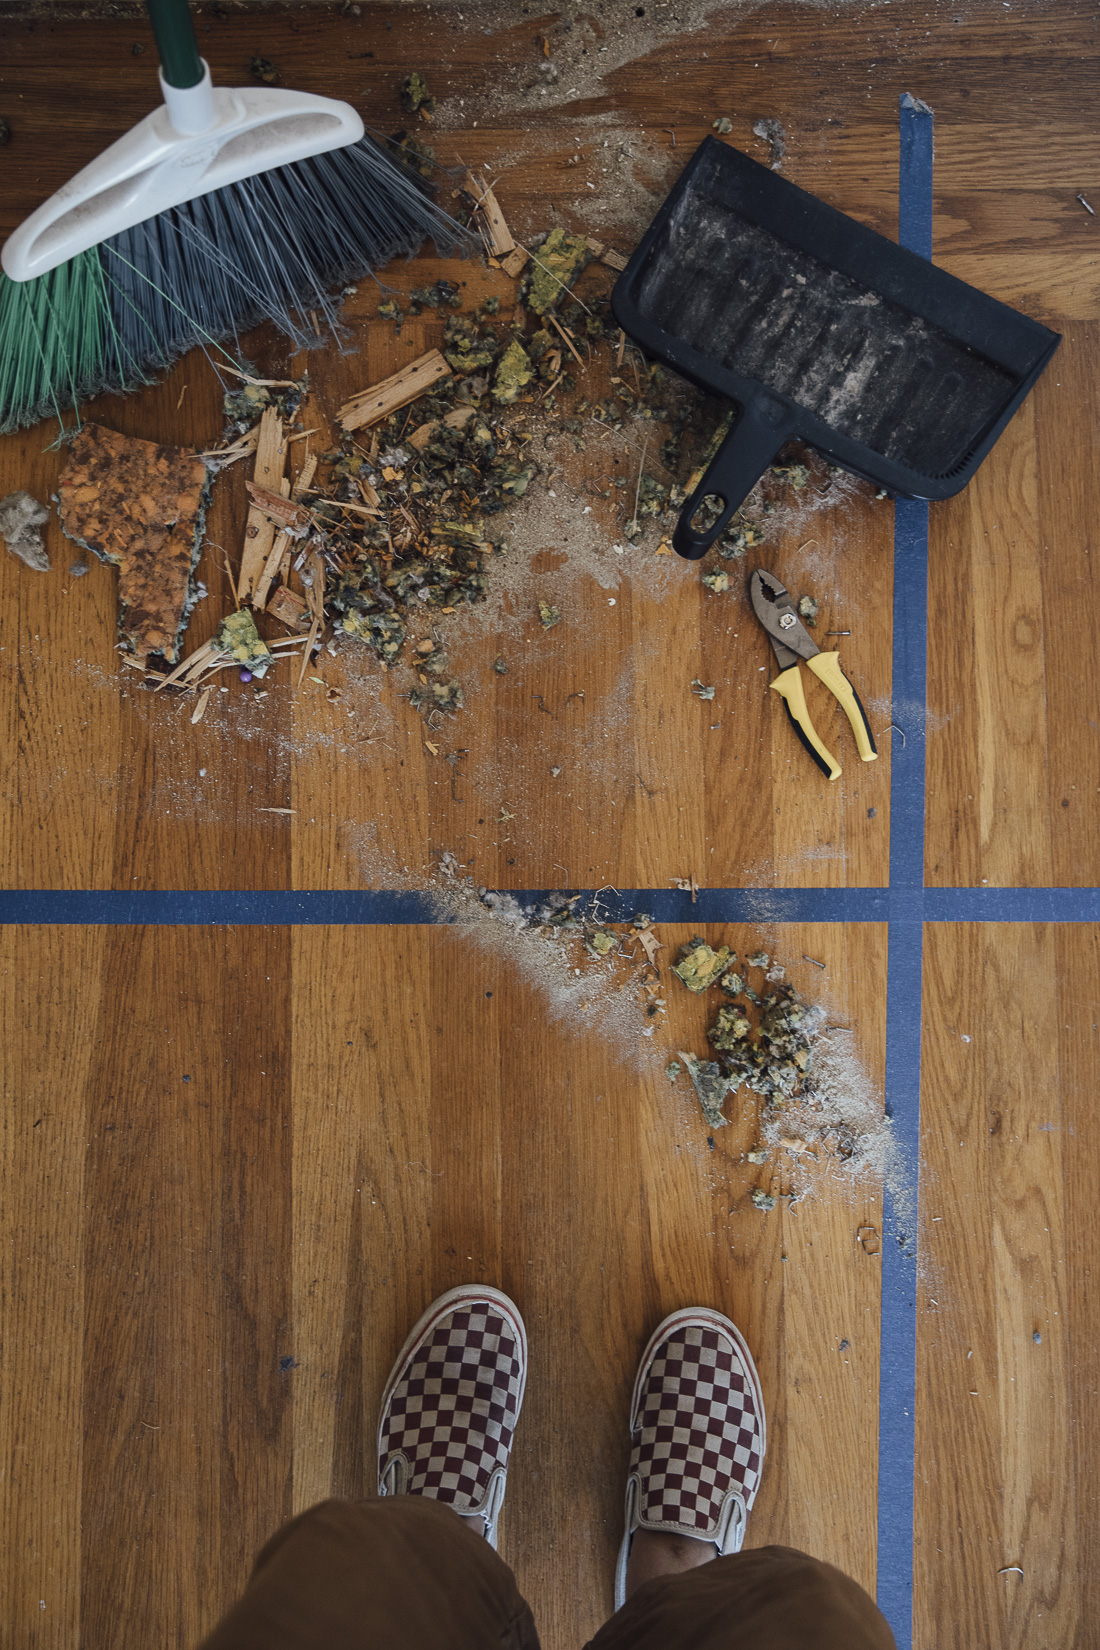
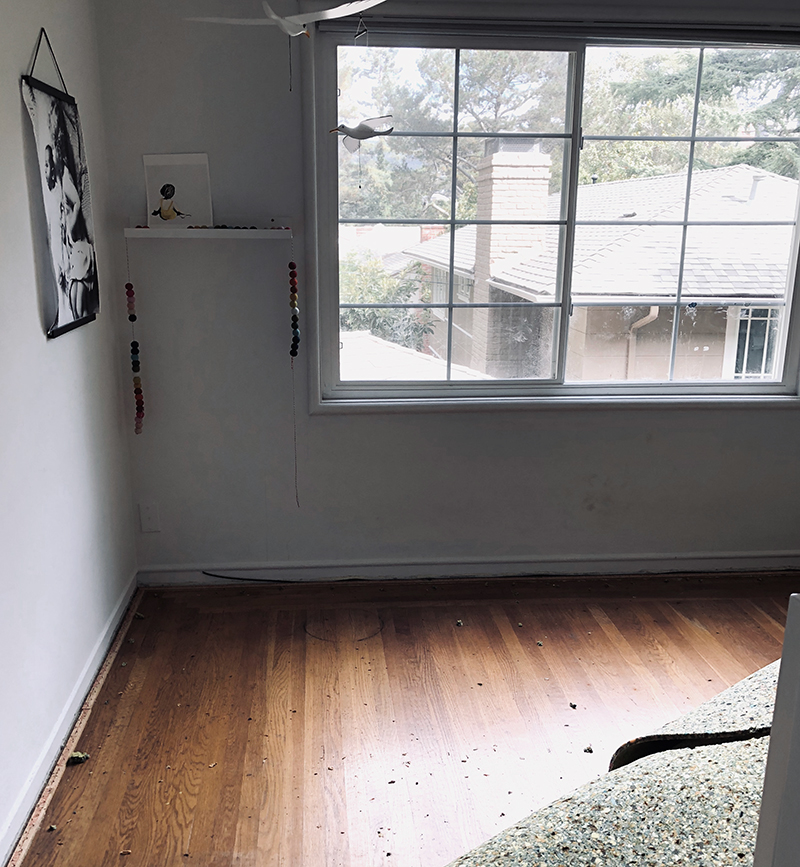
After everything was removed it was time to clean. We had to do some scrubbing where the padding had starting staining on the floors. It wasn’t too bad in this room, but in the master bedroom it was really extensive and took a lot of time. My arms and back were mad at me for a while after all that. We swept and mopped a couple times.
Lastly, we used some wood filler to fill in any large holes, although they were mostly teeny nail ones.
Stay tuned for our Part 2 next week! We’ll be doing some tool renting at Home Depot (with a fun video we made about it) to show how we sanded and coated the floors for the final reveal coming up in Part 3.
This post is sponsored by The Home Depot.
