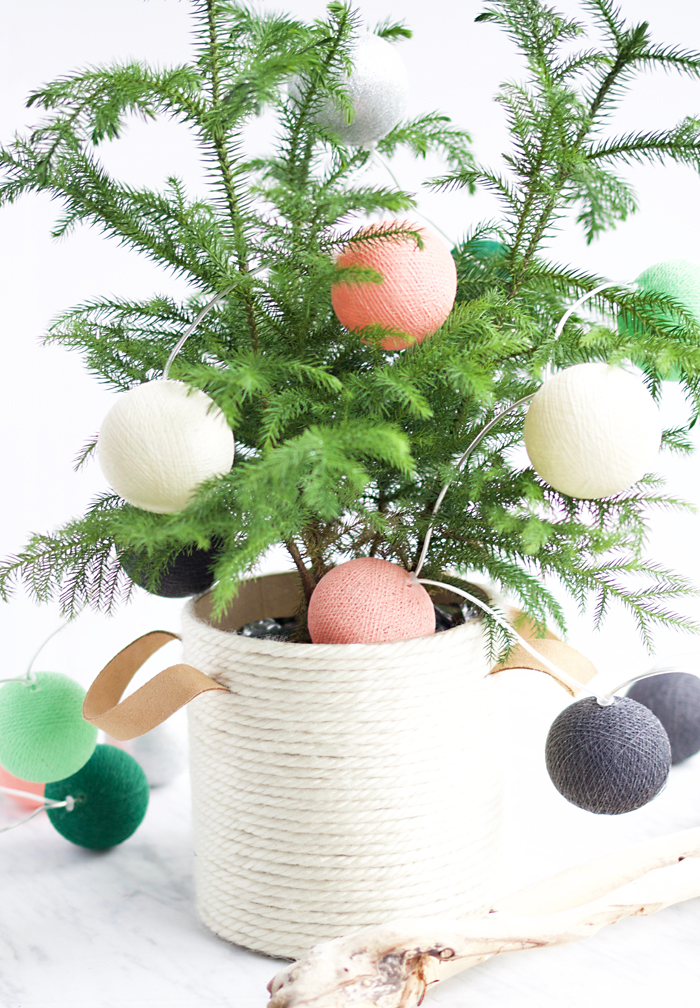
For the first time in my life, I decided to trade in that classic 6′ Christmas tree for a few small Norfolk Pines! They actually make great house plants and are quite easy to take care of. And oh so cute! We got ours at Home Depot real cheap, but the buckets they came in just didn’t cut it on cuteness. I needed something to fix this ASAP and decided to make some baskets to place the tree in. This tutorial is very simple and will make your little tree pop this holiday season!

DIY Christmas tree basket
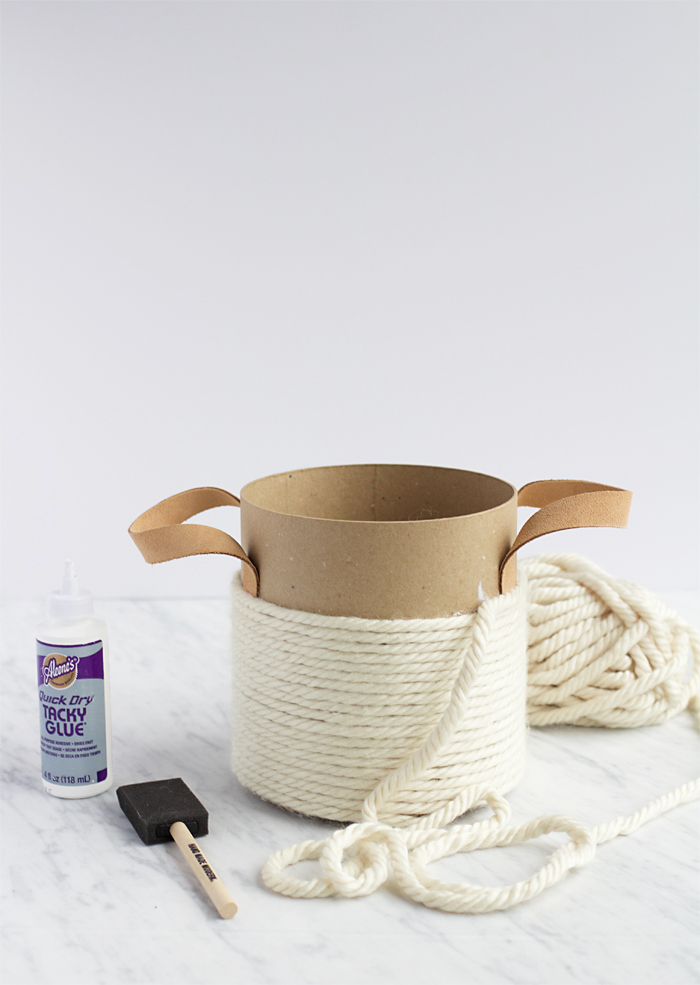
MATERIALS
Tall Round Paper Mache Boxes
Chunky Yarn
All Purpose Tacky Glue
Foam Brush
Leather Scraps
INSTRUCTIONS
1 / Starting from the bottom of the box, glue down the starting piece of the yarn and let dry.
2 / Using the brush to “paint” on the tacky glue, begin wrapping the yarn around the basket working your way up. It helps to let the glue dry a little to prevent the yarn from getting pulled too tight or getting too loose as you go.
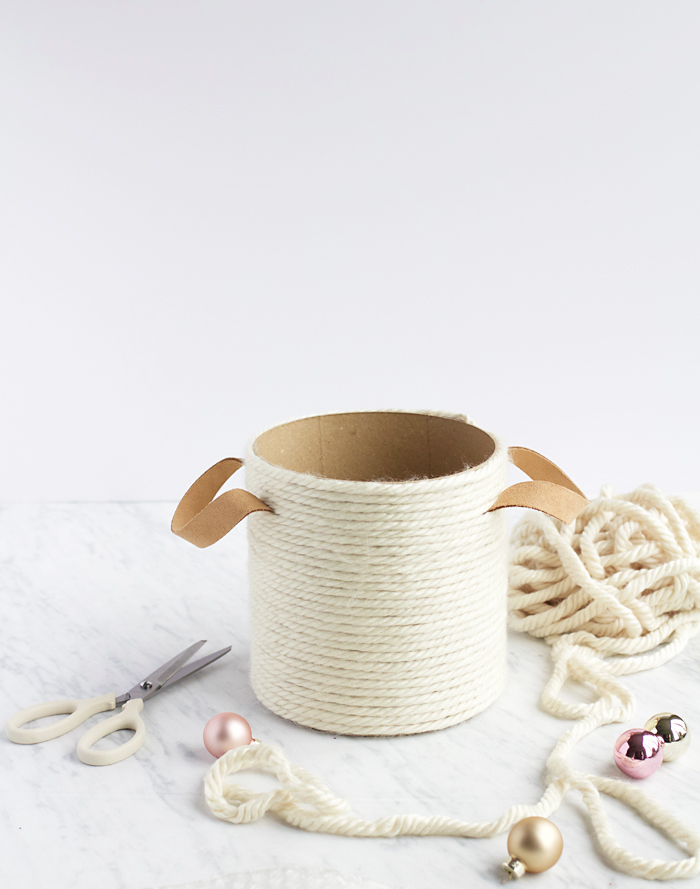
3 / Once you wrap about 3/5th of the basket, glue down 2 leather straps on each side with the glue and wait for them to dry. This will ensure they don’t pop off as you finish the basket.
4 / Once the straps are secured, continue wrapping the yarn over the bottom of the strap. For a better hold, apply glue directly to the yarn right above where the strap is exposed.
5 / Once you reach the top, cut the yarn at an angle and glue down the end.
6 / Place that little tree in the bucket! Since it does need to be watered, keep it in the container it came in so you can remove it and water as needed.
I really liked how these turned out! Once the holidays are over, you can replant these trees and use them for next year like we plan to do.