By DIY contributor Alyson of Sugar and Bash
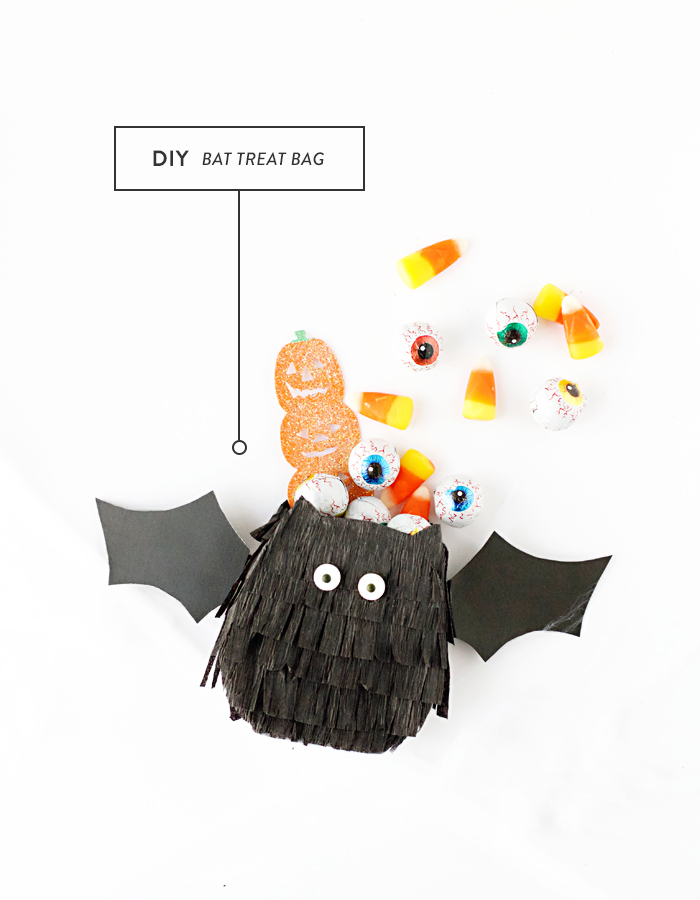
I think most people can agree that once Autumn rolls in, the next 3 months will be spent crafting, spending more time with family, and baking all day, every day! Halloween just so happens to be one of my favorite holidays. I always watch the same 5 movies on repeat while scheming up new ways to serve up candy. Over the years, I’ve found that little kiddos are much more excited when they receive a treat bag versus picking candy from a bowl. Maybe it’s the fun bag…or the fact they get more candy than normal? Yeah, it’s probably that last one. Either way it’s enjoyable and I love making them. Bats always remind me of Halloween, so it just felt right to make some spook-tacular treat bag bats!
Just follow the tutorial below…
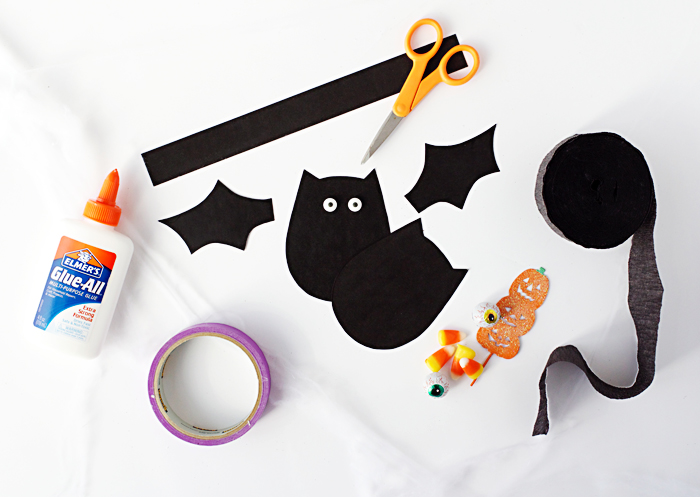
MATERIALS
black card stock
black crepe paper
candy or plastic eyes
scotch tape
glue
scissors
candy and goodies!
Step 1: Using black card stock, cut out 2 bat bodies (slightly flat on the bottom) for the front and back, 2 wings, and a strip about 3/4” thick.
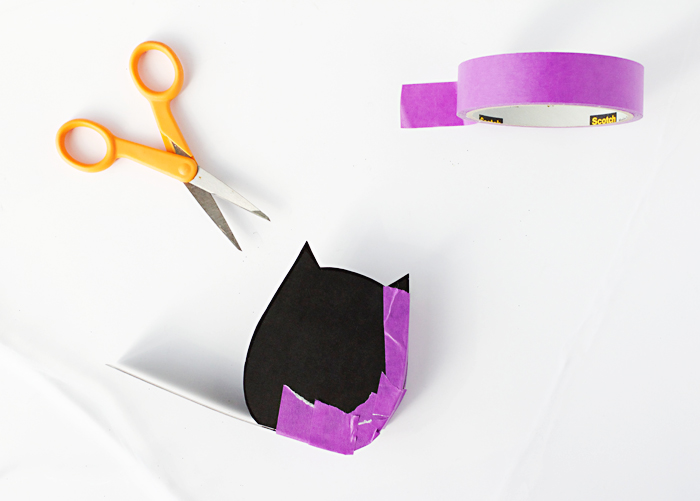
Step 2: Attach the 2 body pieces by using the strip and taping along the outside from ear to ear. This will make the treat bag nice and sturdy.

Step 3: Cut the crepe paper into strips and fringe about halfway up. You can attach these with the glue and wrap around the bag one row at a time.
Step 4: When you reach the ears, glue the crepe paper like normal and once the glue dries cut off the excess paper.
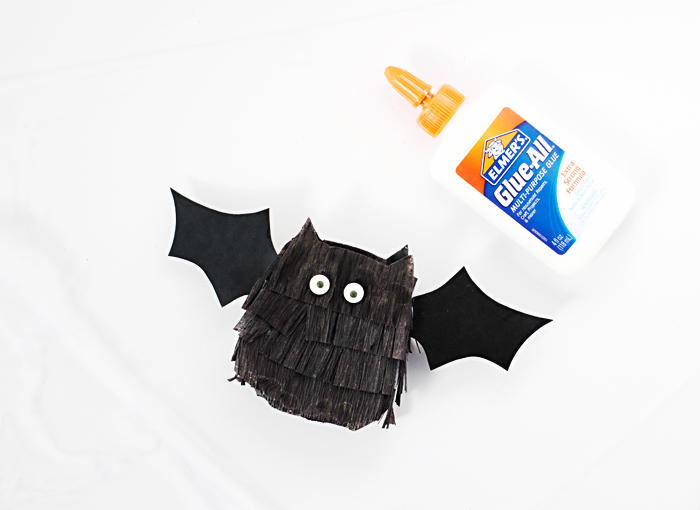
Step 5: For the wings, I made sure I had a small tab I could fold and glue to the bag.
Step 6: Time to add those goggly eyes with a little glue!
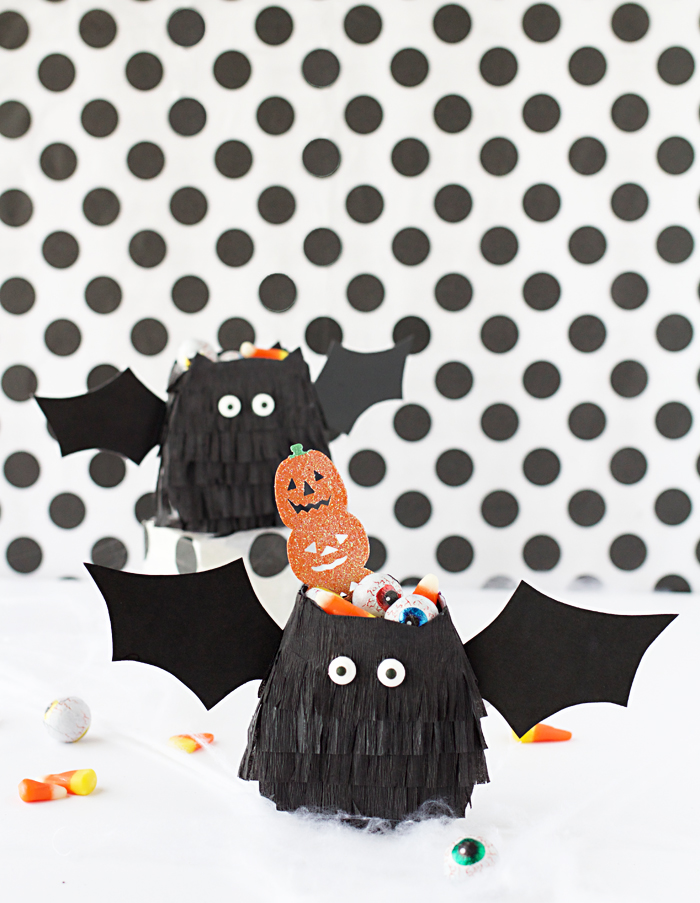
And there you have it! A simple treat bag that is super cute and totally fun to make. You can fill these little bats with candy, Halloween goodies, or some good ol’ fashioned floss and toothpaste!
Happy Halloween!
I’m curious about your 5 favorite movies!
These treat bags are super cute! I love them!
Paige
http://thehappyflammily.com