By beauty contributors Joanna and Molly of Irrelephant
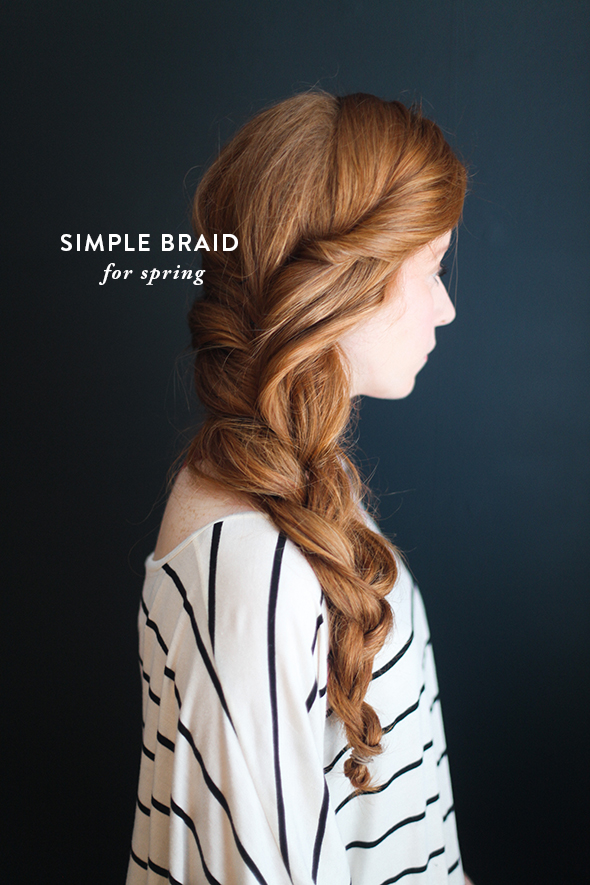
With summer right around the corner, a braid is the perfect way to still have a style, but get that hair out of your face! But what happens when you have layers that stick out while you’re braiding? Or how do you get volume and your braid to stay and look less “little girlish”? Today we bring you a few tips to make your casual braid into one you can wear to work and into your night out- while keeping it from falling out!
keep reading for instructions…
INSTRUCTIONS:
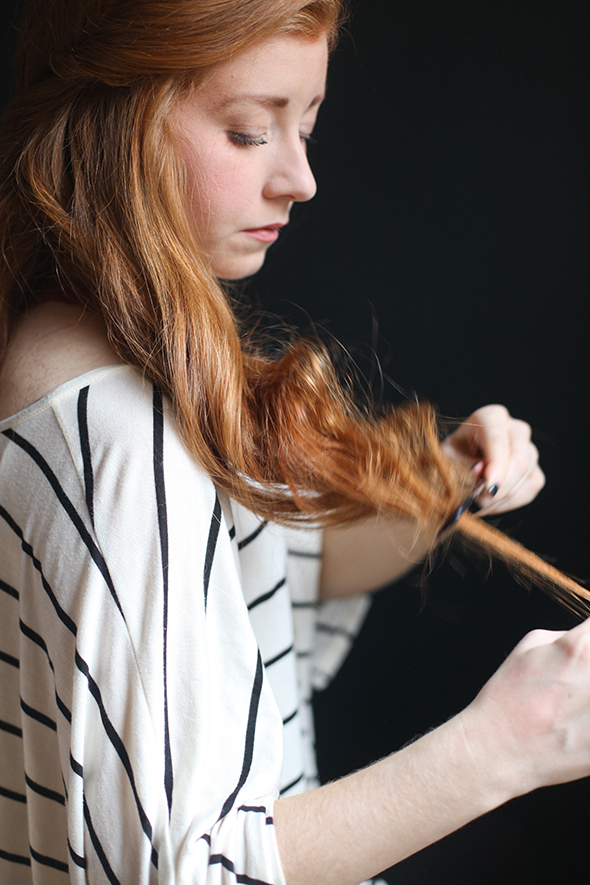
Begin with your hair slightly curled. (This helps bend the hair ends through the shaft of the hair and keep them bent throughout the braid.)
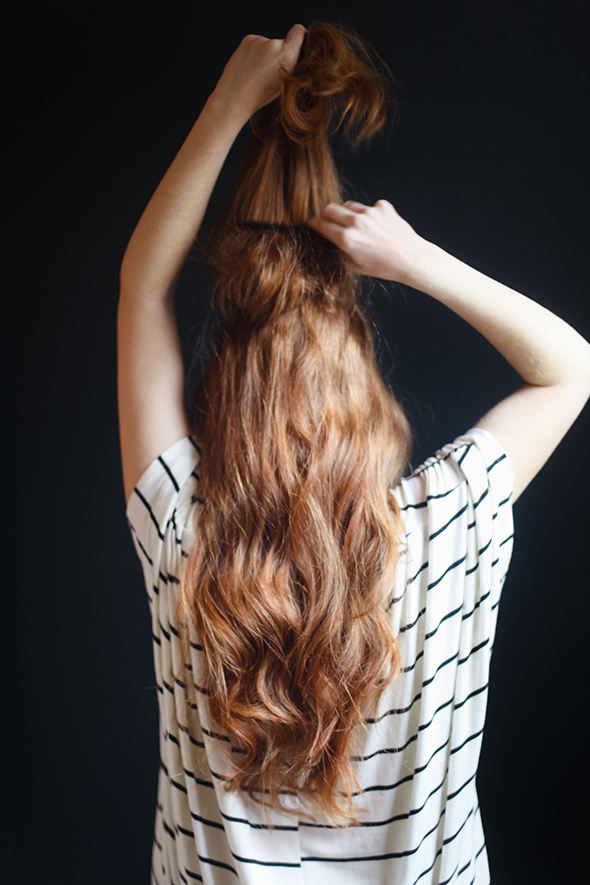
Next, gather the crown section and tease to create volume and texture.

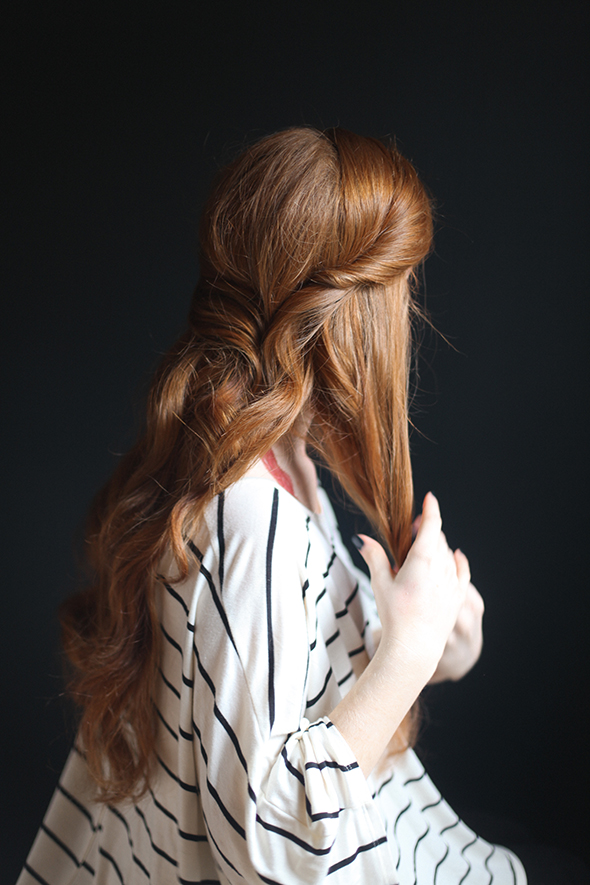
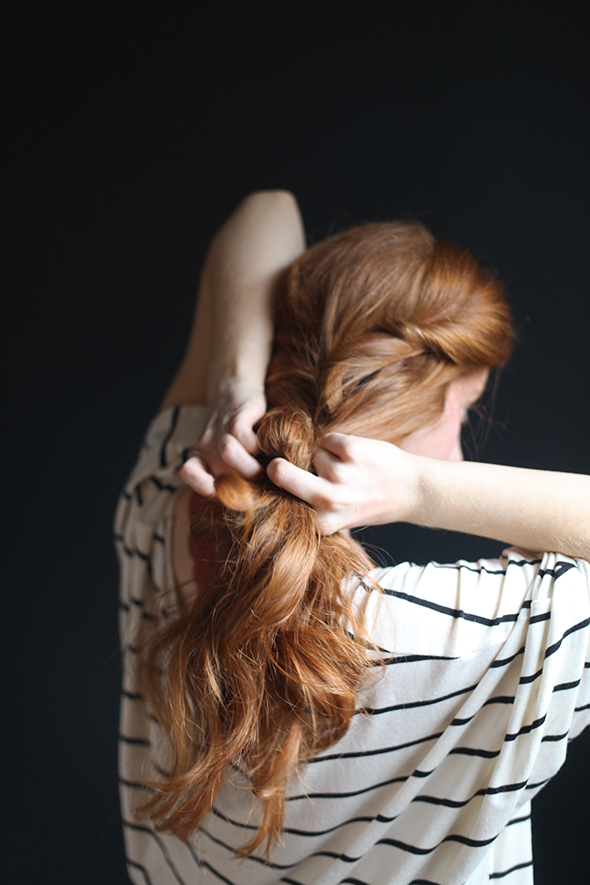
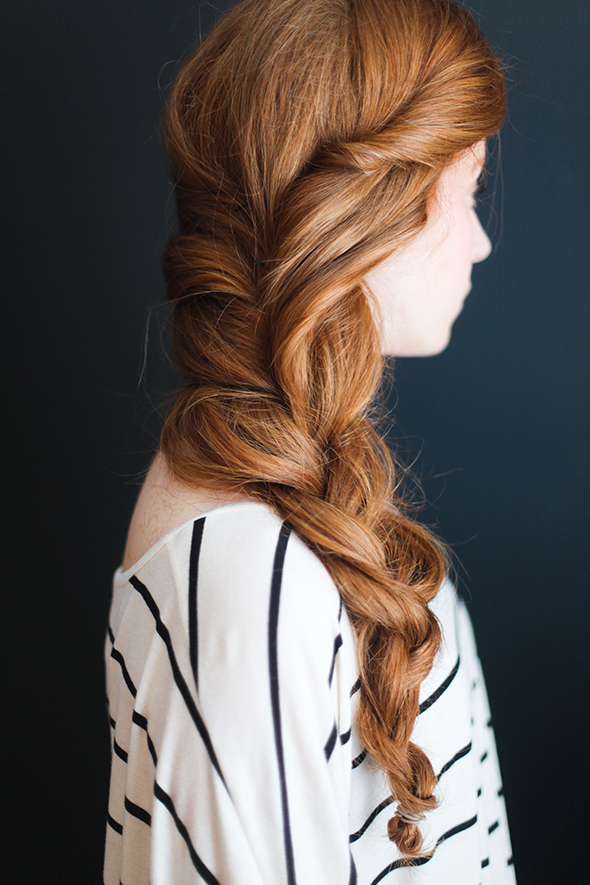
Grab a small section on the opposite side you chose to make your braid on, and pin it back a little past the middle…as if you were going to do a half up half down. (see picture for placement)

Now for the other side, we grabbed the same thickness but because our model parted on the opposite side, her hair was thicker. So we twisted it back instead. Then pinned it. This is personal choice! You can even twist both if you like!

Now that you have the top secured, section the leftover hair in three sections to gear for the classic braid technique.
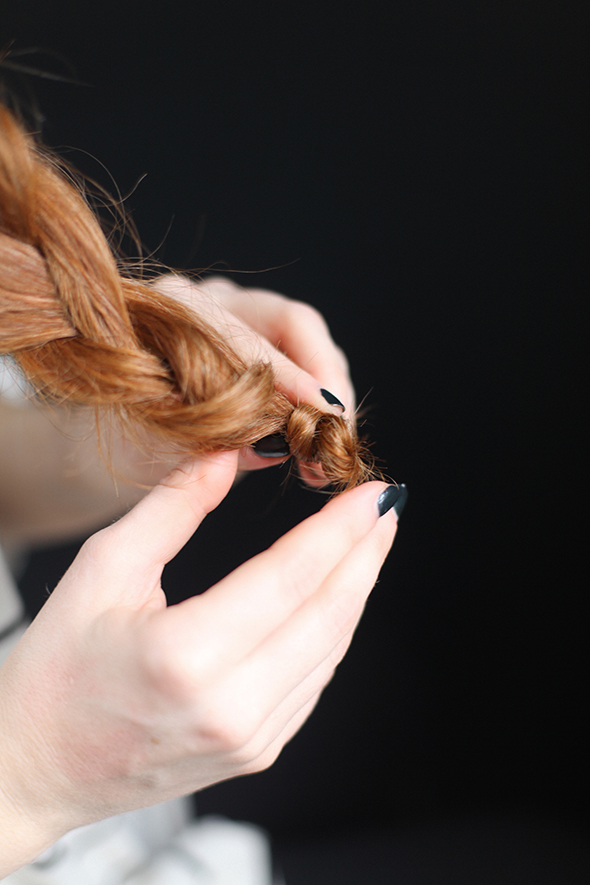
To help keep flyaways and layered ends from popping through the braid, rub some pomade throughout the three sections (this is our favorite pomade). Then twist them individually so you can tease from top of each section to ends.
Teasing will help to make your braid thicker and fuller. Hairspray each section.
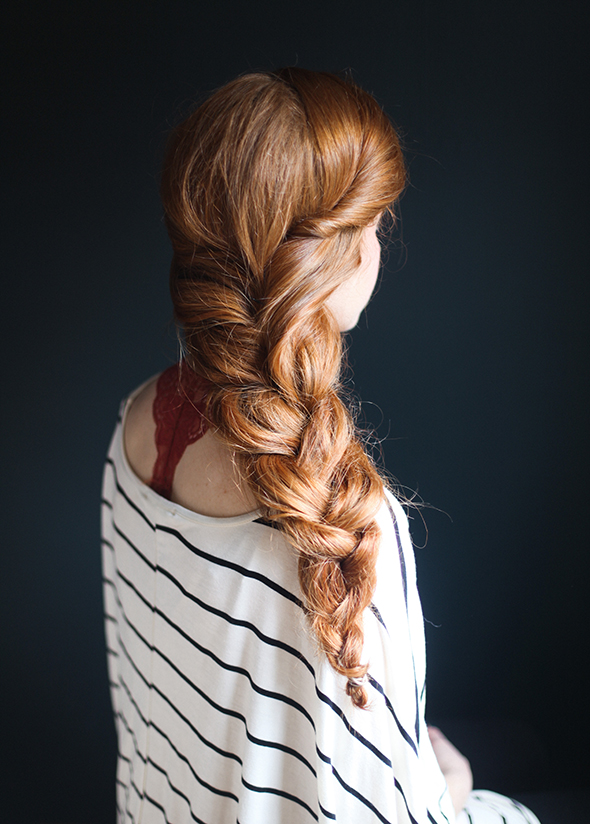
With your three teased sections, start the braid. Starting with it behind you then when you get to the middle, bring it towards the front.

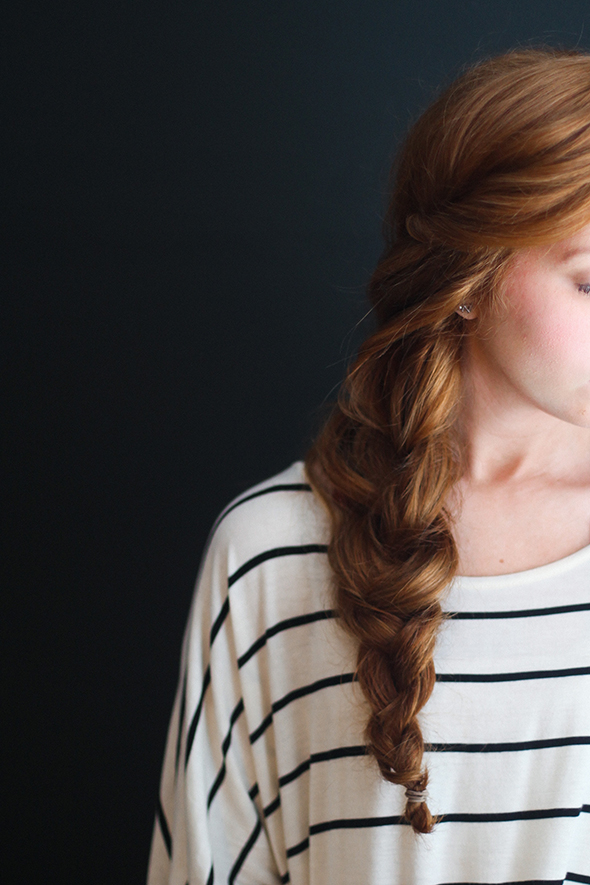
Continue braiding it all the way to the bottom and when you get to the end, tease the ends slightly and spray it with high hold hairspray to wrap the ends and tie (this is our go to medium hold hair spray). By wrapping the ends, it gives you a more clean look as opposed to having a tail.
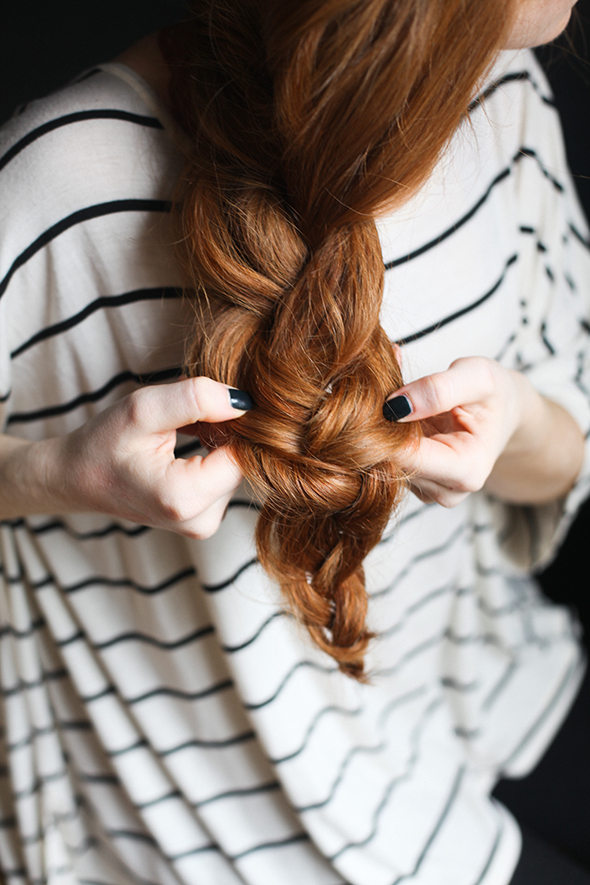
Once secured, start to go through the braid and pulling it slowly and carefully to separate the braid. This creates a fuller and “fatter” braid.

You will notice that there will be a section near your ear on the side your braid is on, that will be a little loose and without shape. Grab a couple bobby pins and pin it back, blending it with the top twisted section you previously pinned back.
Grab your hairspray and give it a good spray! Make sure to spray underneath the braid, this is usually where it starts to come undone first!
This is REALLY making me miss having long hair. Now, I want to go get some fake extensions just to braid them!
This is beautiful! Totally going to try this with my hair, especially for summer. Will keep it off my back. 😀
I’m just dying over this model’s hair! I mean, seriously, I think I would sell my left leg for hair like that. Just gorgeous.
Very pretty, but I’d like to see how someone with more average-length hair could make this work!
Looks so simple yet very put together. Love this idea, I wish my hair was longer to pull it off 🙂
http://www.southernfolly.com