
In day 2 of Summer Camp inspired week, we’re sharing the ins and outs of building a living room fort in your home. Perfect for a rainy summer day inside or a lazy day of movies, books, and snuggling.
OTHER SUMMER CAMP IDEAS:
1. These seed bead friendship necklaces are such a simple and fun idea. Great for kids too!

2. A flower crown, two ways is perfect for summer picnics at the park and lazy afternoons in the sun

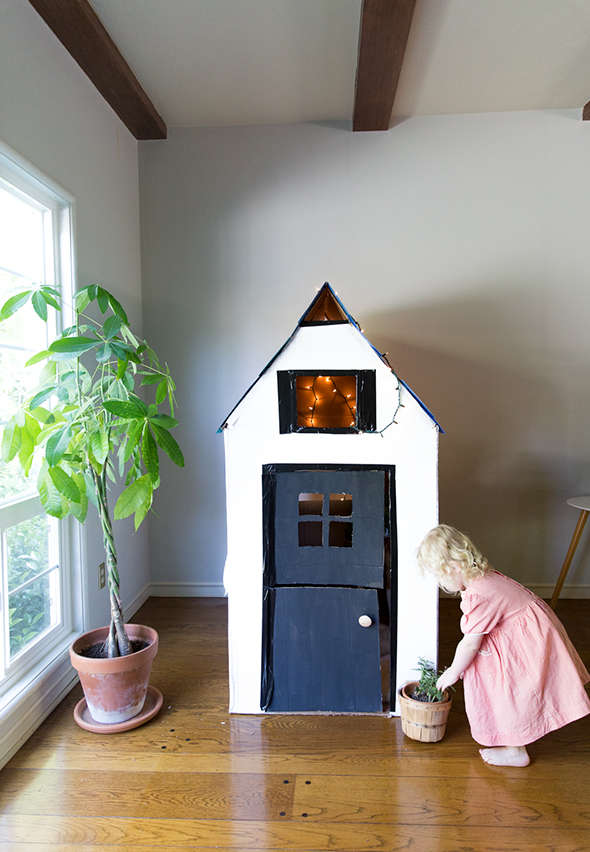
3. Maybe even a giant cardboard playhouse from a large box! We LOVE this project.
4. What about making a net produce bag for park and beach trips?

BACK TO THE FORT.
WHY BUILD A FORT?
I have so many fond memories of forts growing up. We’d make them on our bunkbeds, couches, and even nature forts outside with sticks and stray boards from construction. Wild and free children we were! It’s a great way for kids to flex their creative muscles, long creative play is the best for kids’ brains (fewer toys!), to develop according to research.
If you’re stuck inside, even a simple lunch, reading time with your kids, a romantic dinner, or an afternoon movie can feel special when enjoyed from inside a living room fort.

We experimented with a bunch of different techniques of making a living room fort, and came up with the simplest way to get a great result.
HERE’S WHAT YOU NEED FOR A LIVING ROOM FORT:
-Clothespins
-Safety pins
-String
-Scissors
-Blankets
-Pillows


STEPS AND TIPS:

Step 1:
Find the biggest sheet you can find or a banquet tablecloth.
Tie some string to a doorway fixture on one side and a window or another fixture on the other side (see details on what to tie things to below).
You want to tie the string as tight as you can, which may take two people to do.

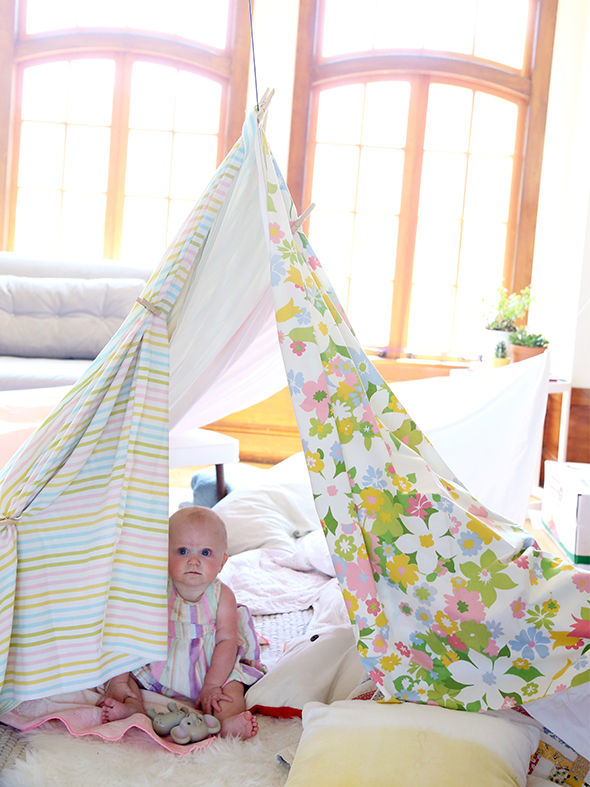
Step 2: Drap the sheet or tablecloth over the string. To keep the fabric in place, use clothespins.
WHAT CLIPS TO USE?
We also had industrial clips as well but these clothespins worked great!
The industrial clips were overkill and clothespins were easier for kids to help with anyway. Stick with clothespins!
TIPS FOR HOLDING IT TOGETHER:

1. In doorways, look for the hinge. It’s a great place to tie a string.
2. At the other end, tie the string to a safety pin and then attach the pin to the sheet or fabric to give it a little lift off the ground.

3. Another great place to tie a string around is a bookcase.
4.Use a chair or stool to create more lift in the fort and then clothespins to keep the fabric or sheet in place.

Step 3: Once the ends are tied and the top is secure with clothespins, add a few more layers of sheets (the lighter weight the better, keep the blankets to lie on inside the fort).
You can secure the sheets and fabric to each other with more clothespins.
It makes a great fabric door as well that you can open or close with the clothespin.

Did you build forts growing up? Any favorite tricks or tips you have to share?
We experimented with a bunch of different ways of making a living room fort, and came up with the simplest way to get a great result. 1. Find the biggest sheet you can find or a banquet tablecloth. 2. Tie some string to a doorway fixture on one side and a window or another fixture on the other side (see details on what to tie things to below). 3. You want to tie the string as tight as you can, which may take two people to do. 4. Drap the sheet or tablecloth over the string. To keep the fabric in place, use clothespins. 1. In doorways, look for the hinge. It’s a great place to tie a string. 2. At the other end, tie the string to a safety pin and then attach the pin to the sheet or fabric to give it a little lift off the ground. 3. Another great place to tie a string around is a bookcase. 4.Use a chair or stool to create more lift in the fort and then clothespins to keep the fabric or sheet in place. Step 3: Once the ends are tied and the top is secure with clothespins, add a few more layers of sheets (the lighter weight the better, keep the blankets to lie on inside the fort). You can secure the sheets and fabric to each other with more clothespins. It makes a great fabric door as well that you can open or close with the clothespin.How to Build a Living Room Fort
Materials
Tools
Instructions
Notes
TIPS FOR HOLDING IT TOGETHER:
ALSO:
This is so warm and inviting I would do this but my cat’s would join me like they do on my bed it wouldn’t be my sanctuary anymore! LOL
Cats thank the day own everything and then they think that they’re also entitled. Everything is off limits
I loved building forts, indoors and outdoors with my brothers and sister. How I’m married, but we don’t have any children or grandchildren. Miss those days. ):
Soft, warm, pleasant. Smells of freshness, spring and pure rain
I loved building forts, indoors and outdoors, as a kid. Don’t have all these supplies laying around but am sure I can improvise. Looks like we’re about to have some fun over here!
When my grand children were growing up they would make tents out of blankets. They had so much fun. Now their grown up. I miss those days. They use to ride a wagon off the hill. And have picnics with the wagon.
I used to make tents and forts in the house ALL THE TIME when I was growing up. My siblings and I absolutely adored doing it! This is a great throwback to my childhood, and make me want to drag out all of my blankets and make another one. 🙂
Oh edie is so sweet in that thing!
Such a great summer activity. We loved making these growing uP!
This is so great! I love a good living room fort.
Oh adorable is this. I love the colors too. Where are those pretty floral sheets from?
They’re just some vintage sheets I found at a thrift store. A great find!