
Our second BlogNog today is by Allison from the always fabulous Petit Elefant blog. She’s sharing her tried and true recipe for perfect caramel apples, the quintessential Autumn and Halloween treat…Welcome Allison!
Fall just isn’t quite fall without caramel apples. There’s something so delicious about the crispness of an apple mixed with caramel, isn’t there? Caramel apples are deceptively simple. Really. They take a little patience and some time but they’re simple.
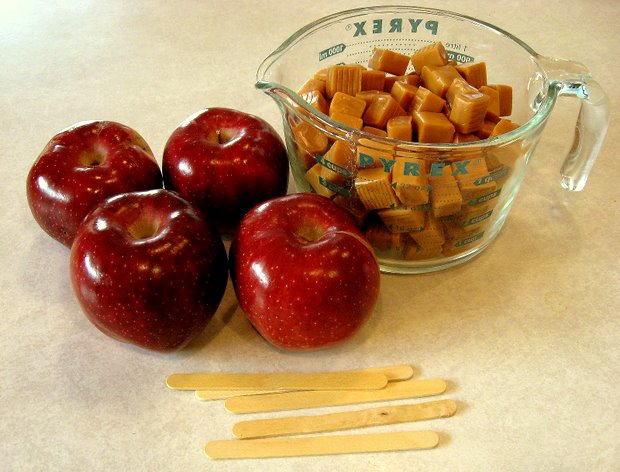
Here’s what you need:
Apples
Caramels
Popsicle Sticks
Milk
Caramels
Popsicle Sticks
Milk
We made 10 caramel apples with the amount of caramel you see in the photo above {4 cups, or 2 lbs.}. It was a lot of caramel too, they were big apples.
Step 1:
Unwrap caramel and place in a double boiler pan on the stove-top. It’s possible to melt the caramel in the microwave with a little bit of water but I prefer the stove-top, it’s more fun for the kids to see it melt. Don’t put all the caramel in at the same time, just put in enough to cover the bottom of the pan.
Stir the caramel around as the water heats up to keep the caramel from burning, and when it starts to melt, add some milk. You want about one tablespoon or so for each cup of caramel.

Step 2:
Once your caramel is pretty much liquid you want to add more caramel, a little bit at a time.
Stir that around for a while until it’s all one big pool of caramel yumminess. If you need to add a little bit of milk as you go, that’s cool. You want it to be more liquid and less super viscous, so milk is good. Do that until you have a thick syrupy liquid.
Step 3:
Once you’re here it’s time to start dipping apples! Spear clean, washed apples with a Popsicle stick right down the middle until you only see about 1/3 of the stick. The stick will help you have something to hold onto as you’re dipping.
Keep the stove on so the caramel will stay warm, and keep stirring so you don’t burn anything. Get a cookie tray & spray it with non-stick cooking spray or line a pan with wax paper so you have someplace to put your apples once they’re dipped.

Step 4:
Dip.
Be sure to coat the apple completely, using the wooden spoon if needed to completely cover the apple. Make sure you coat it completely.
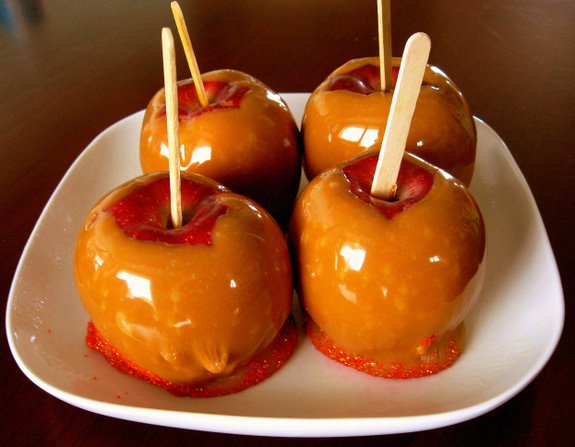
Let the extra caramel drip off, put it on the greased cookie sheet to cool, and you end up with delicious homemade caramel apples.
Delicious.
If you want to get a little extra crazy roll the apples in something once they’re coated with caramel. Chunks of candy bar, mini M&M’s, nuts, coconut, whatever you want. Just be sure to do it fast because the caramel dries really quickly and the toppings won’t stick if you don’t hurry.
That’s all there is to it!
we made mini carmel apples that were just as tasty and so much easier to eat. these look absolutely delicious though!
oh yikes. uh oh, I think you just gave me a craving.
Love caramel apples. Blog Nog is fun! Looking forward to all the holiday posts.
ooh you're making me hungry!
What a sweet treat!
Thank you so much for sharing! I;m pretty sure my roommate and I are going to have to make these now. Autumn perfection!
I NEED! to make these!